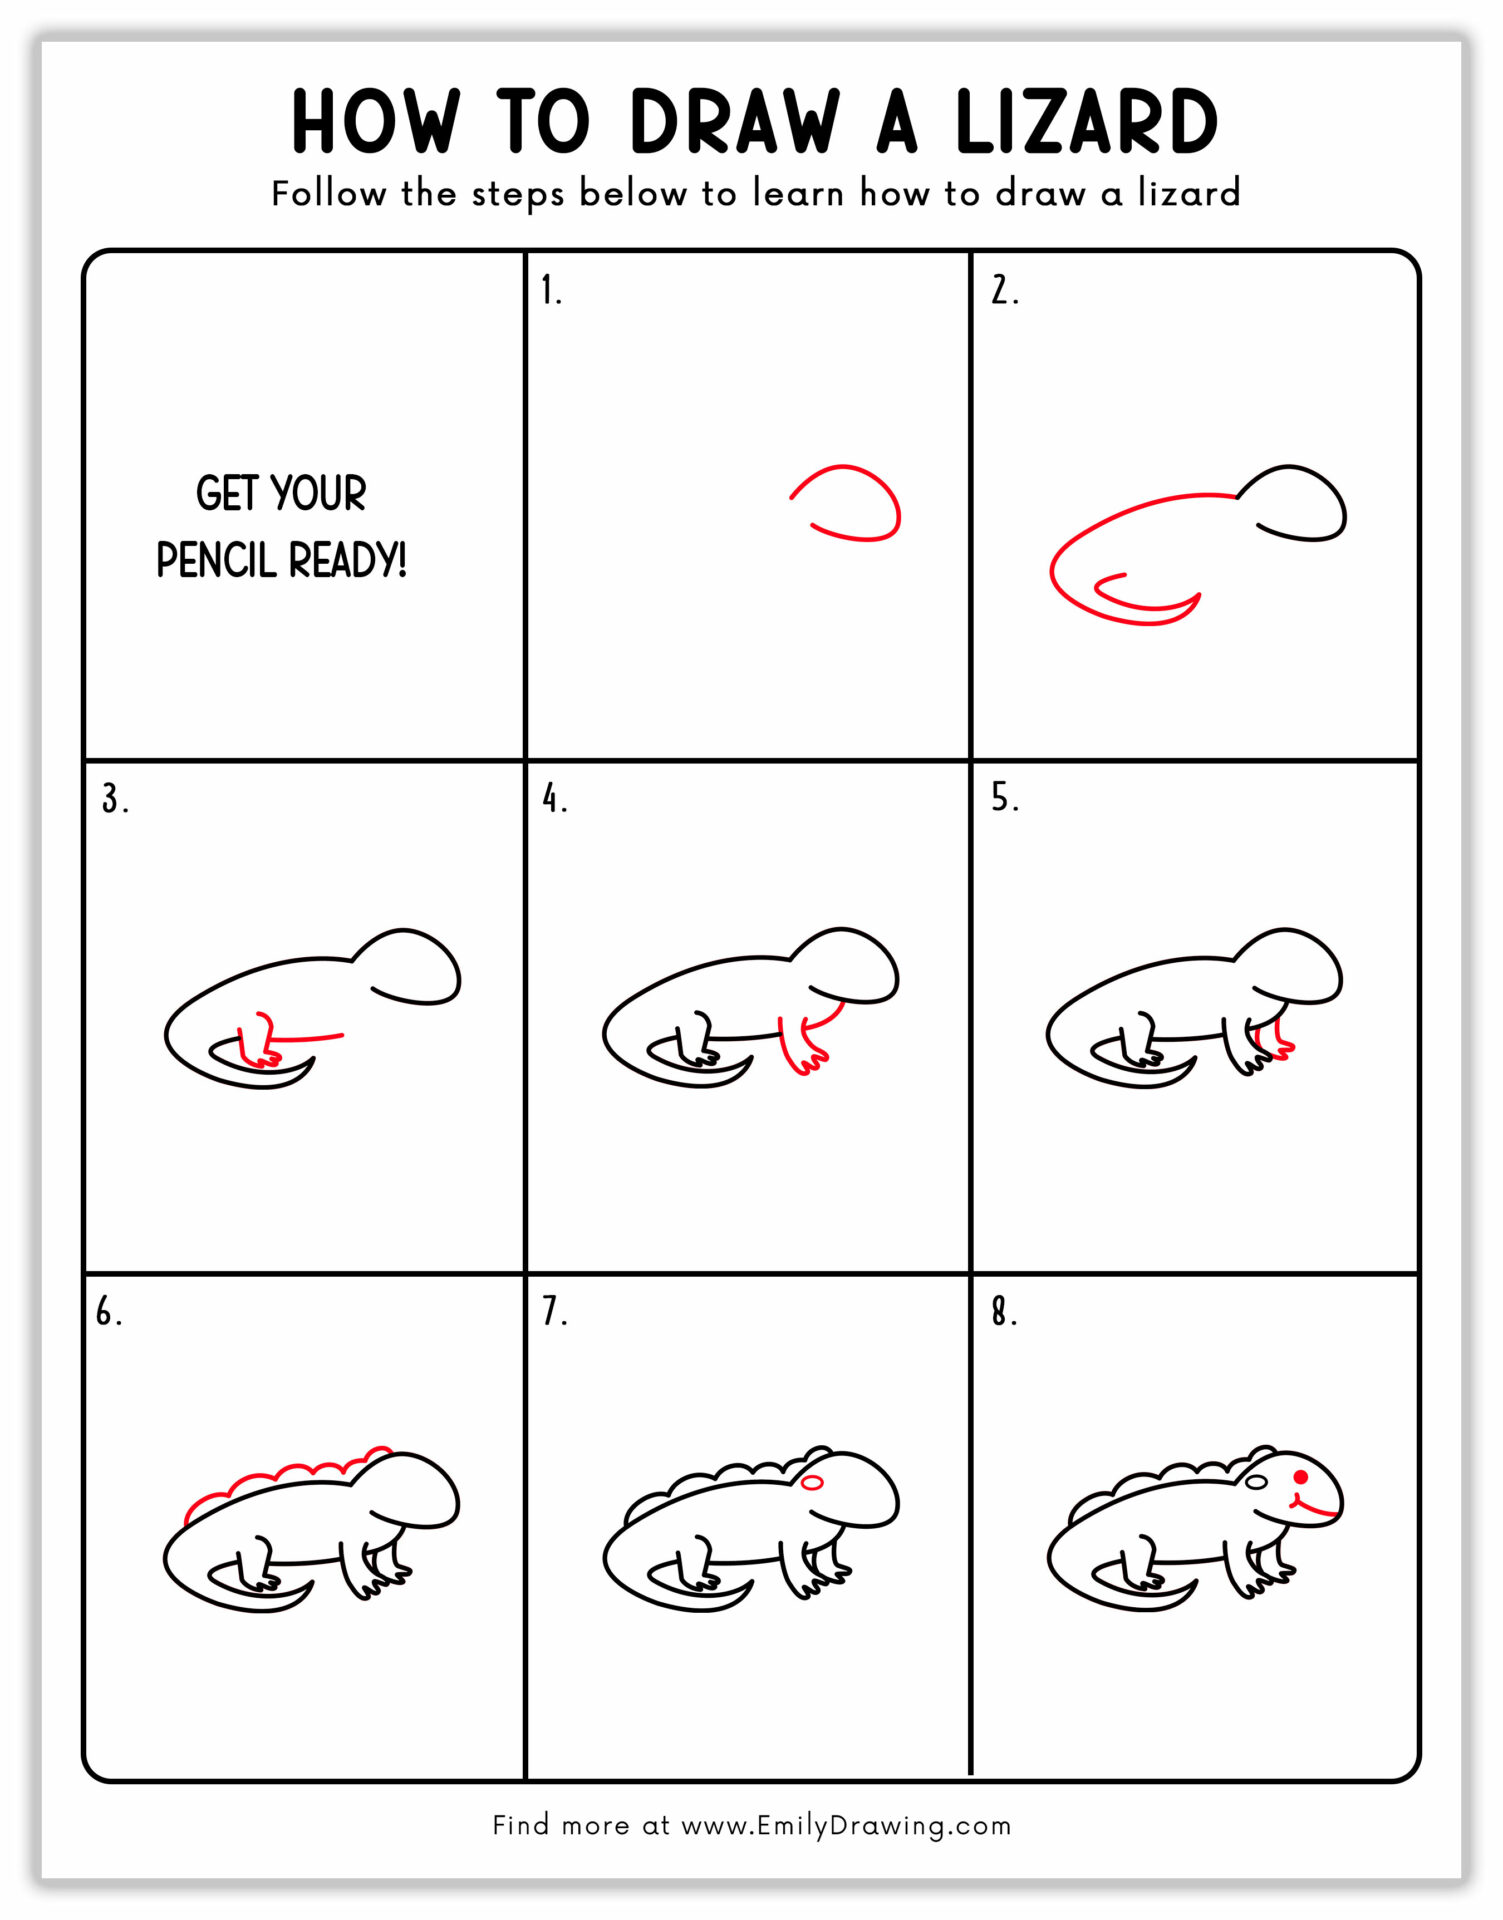
Hello, and welcome to another tutorial by Emily Drawing! Today’s tutorial is all about drawing the lizard! We’ll go through nine easy steps to draw this cold-blooded creature.
This is a diverse group of reptiles, and the size varies per species. For instance, the smallest species is the Jaragua Sphaero, which measures about 0.6 inches. It’s the smallest lizard in the world. The Komodo dragon is one of the largest lizards, weighing up to 154 pounds, while the Komodo monitor grows up to 10 feet long. The largest lizard in the United States is the Gila Monster, and it measures 22 inches long.
It’s time to get started on the tutorial for drawing a lizard. Grab your colored pencils or markers, and learn how to draw this reptile.
Materials:
- a piece of paper
- a pencil for the guiding lines and sketching
- an eraser
- a black Sharpie or a pen for the outlines
- markers or colored pencils for coloring
- our printable drawing guide (Join my Email List below to get this Tutorial)
Here are my RECOMMENDED Art Supplies!
- Crayola Coloring Set (140 Pieces – Mega Value!)
- 24 Colored Crayon Set
- A4 Printer Paper
- Crayola Coloring Pencils
- HP Home Printer with Instant Ink!
Time needed:
15 minutes.
How to Draw a Lizard — Let’s get started!
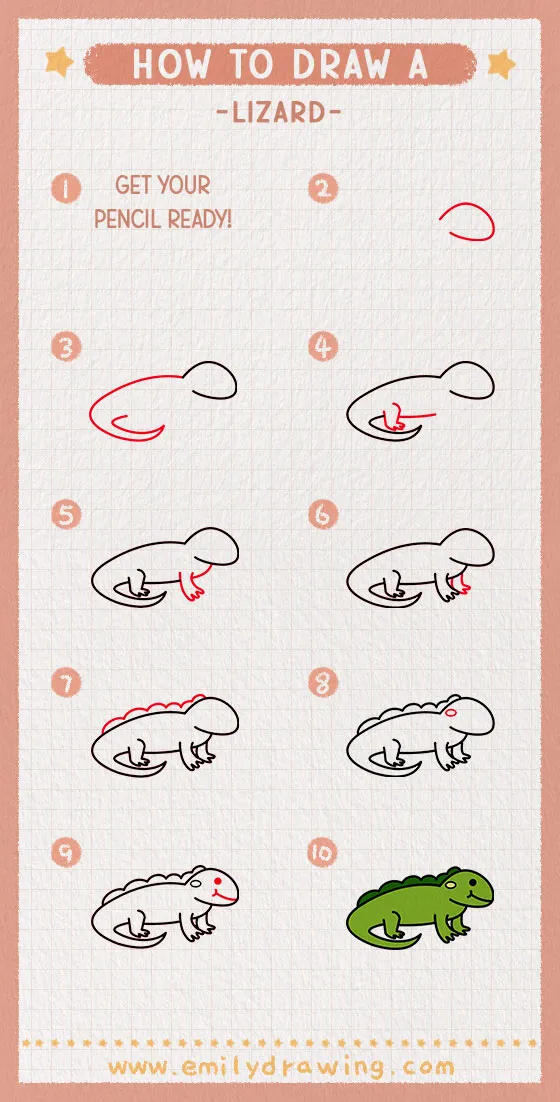
Step 1 – Draw The Lizard’s Head
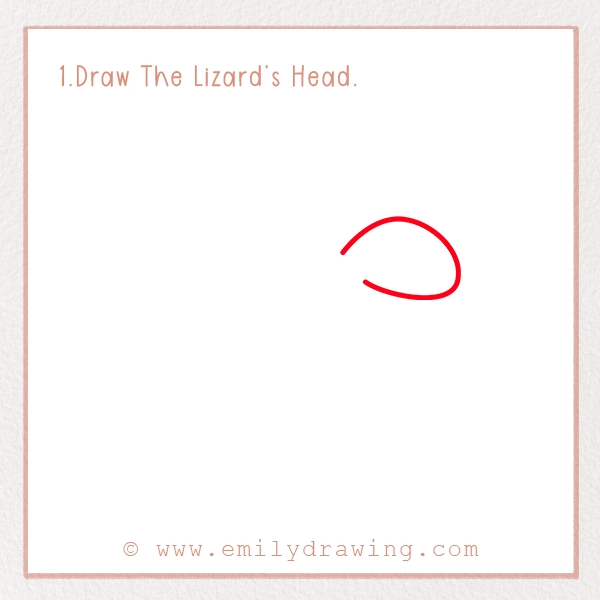
The first step is to draw the lizard’s head. This is a long, round shape, making this an easy step to start the tutorial. You’re going to leave a space open at the neck, so you can continue drawing the lizard’s body.
Step 2 – Draw The Lizard’s Back and Tail
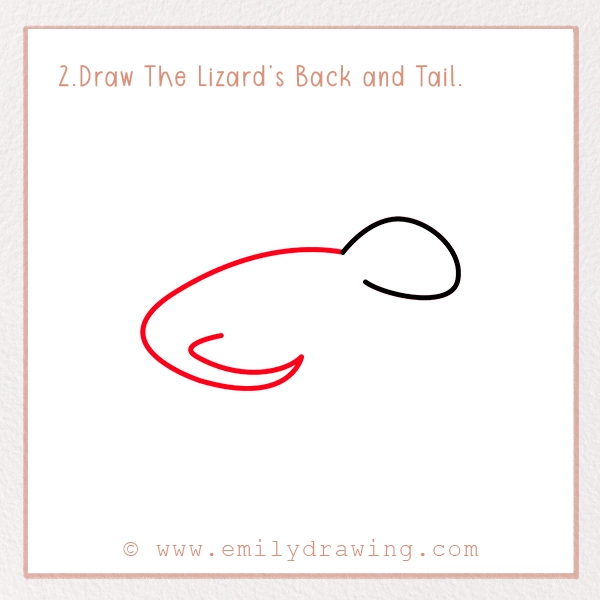
Next, you’ll draw the back to the tail, which can be done in one curved line. Lizards have long tails, with some species using them to store fat. Plus, lizards can regenerate dropped tails in about a month.
Step 3 – Draw The Lizard’s Back Leg and Belly

Now, you’ll add the lizard’s back leg. This is a side view of the lizard, so only one back leg is visible. Then, continue drawing the belly. When drawing, the line for the belly should be even with the line from his tail. It should also look like the leg overlaps the belly (because of the side view).
Step 4 – Draw The Lizard’s Front Leg and Chest
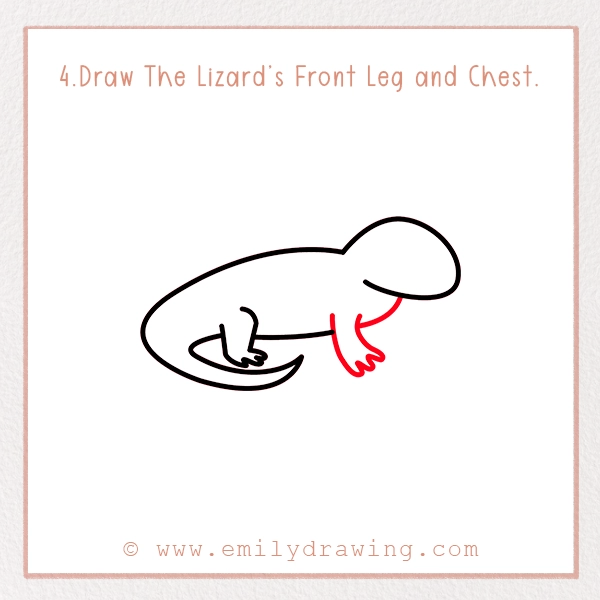
This step is similar to the previous step. First, you’ll draw the first front leg. Just like the previous step, the front leg should overlap the belly to show it’s a side view of the lizard. Then, you’ll continue with the chest, keeping the line even with the rest of the body, until you reach the lizard’s head. Following the picture, this is an easy step.
Step 5 – Draw The Lizard’s Second Front Leg
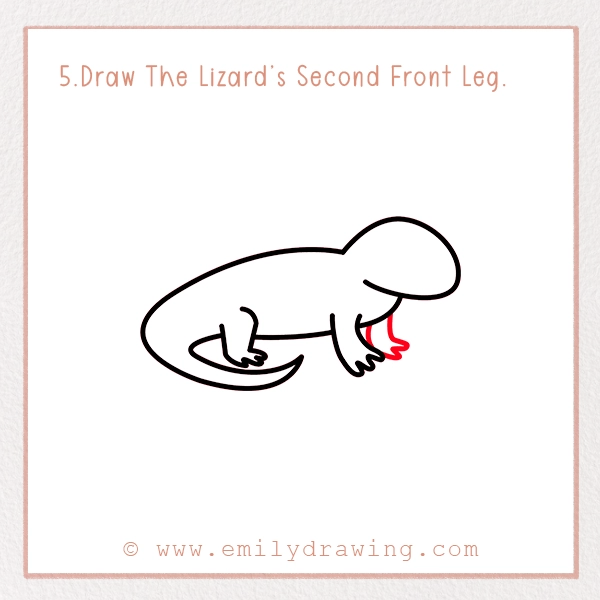
While the second front leg isn’t hidden like the second back leg, it does peek out from behind the lizard’s chest. Did you know there are two-legged worm lizards? Its front limbs are similar to moles, and it doesn’t have any back legs. When looking at pictures, the body almost looks like a snake. You can find this species in Western Mexico and Baja California.
Step 6 – Draw The Lizard’s Spikes
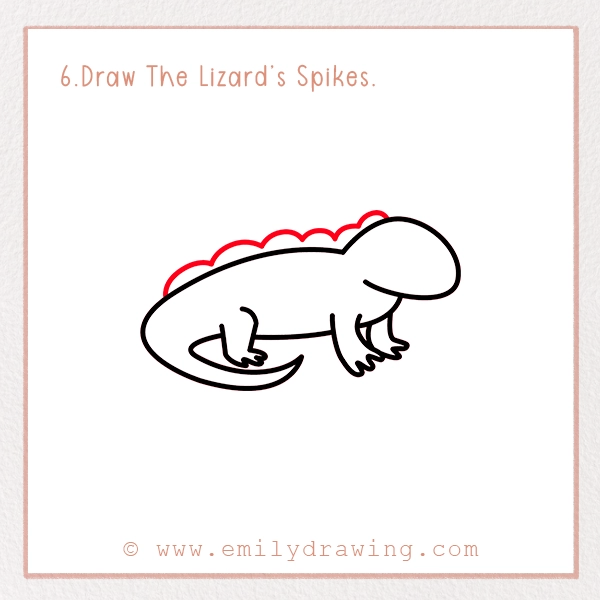
The next step is to add the lizard’s spikes, which start at the back of its head and run down its back. For this picture, the spikes are more rounded than pointed. However, all spikes are used to deter predators and protect the lizard. The Komodo dragon, Thorny Devil, and Maharashtra Dwarf Gecko are just a few lizard species with spikes.
Step 7 – Draw The Lizard’s Facial Marking
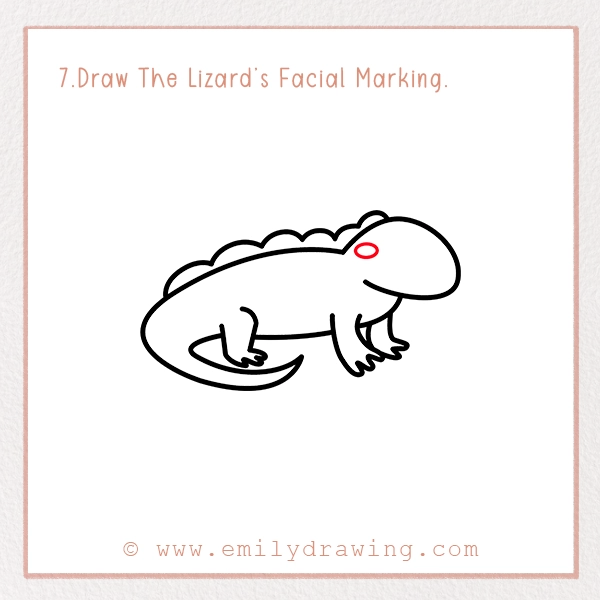
In the easiest step of the tutorial, you’re going to draw a spot on the lizard’s face, close to the back of its head. The marking is a horizontal oval, but don’t shade it in yet.
Step 8 – Draw The Lizard’s Face
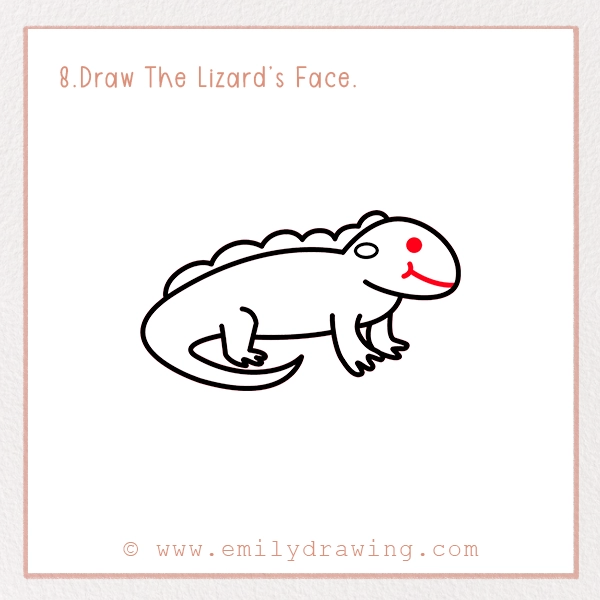
The last step of the drawing tutorial is to draw the lizard’s face. Start with a dot for the eye, as this is a side view of the lizard. Next, draw half a smile for the lizard’s mouth. We wanted to choose an adorable face to appeal to various ages.
Step 9 – Color In Your Drawing!

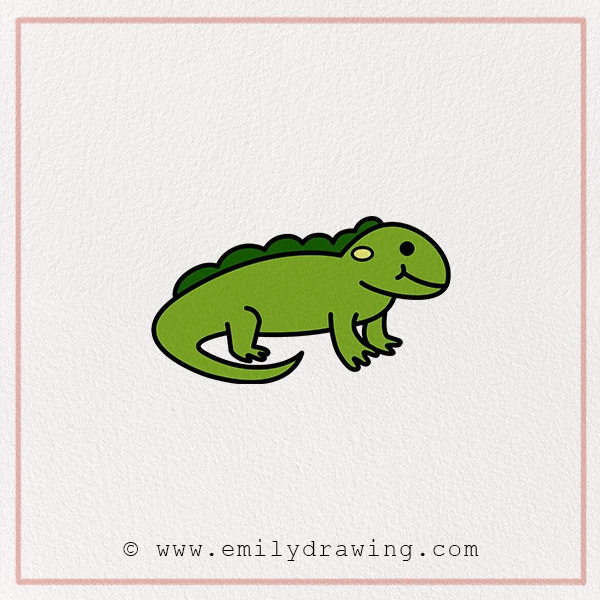
You may be finished drawing, but there’s one more step of the full tutorial. It’s time to color in your drawing! Like many others, we’ve chosen to color our lizard green with dark green spikes. The facial marking is a lighter shade of green, but you can use any shade of green for the body, spikes, and marking. We used black for the face and other details. Don’t forget to color the background of this picture, so you can create the ideal environment for your lizard.
Pin it now, Draw later!
Interesting Facts About The Lizard
Lizards are cold-blooded vertebrates, so you can find them on every continent except Antarctica. They can adapt to different habitats, such as on the ground or in burrows, trees, or water.
As a pet, a lizard should be kept in a reptile aquarium or terrarium that’s twice as long as its body. The enclosure should also be secured to prevent escaping, as lizards are fast, strong creatures.
Did You Know?
- Lizards have dry scales, and they’re usually green, brown, or gray.
- Lizards use their tongues to smell by catching scent particles in the air.
- In addition to the two-legged worm lizards, some species don’t have legs at all. However, most lizards have four legs.
- The gecko is the only lizard species to communicate using vocal cords. Other species don’t have vocal cords, so they communicate with body language.
- A lizard’s lifespan depends on the species, but the average lifespan is about 10 years, with some species living even 20 years.
We hope you had fun with our “How To Draw A Lizard” tutorial. You’re invited to share your drawing with us by posting on social media with #EmilyDrawing! If you’re interested in drawing reptiles or other types of animals, browse through the tutorials on our site. We offer many easy-to-follow drawing tutorials.
