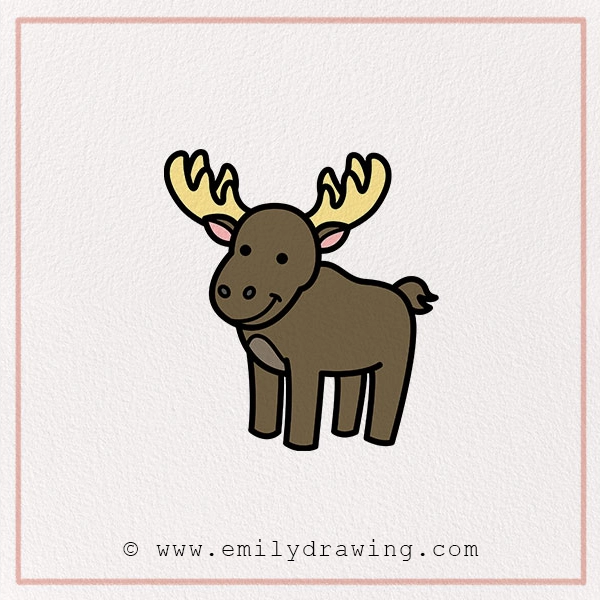
Do you love drawing animals? Today, we’re going to learn how to draw a moose! These majestic creatures are famous for their big antlers, strong build, and calm nature. With just a few simple steps, you’ll have your very own moose drawing in no time. Grab your pencil, and let’s get started!
Why Draw a Moose?
Moose are fascinating animals that live in forests, often near lakes and rivers. They are the largest members of the deer family, and their antlers make them easy to recognizable. Learning to draw a moose can help you understand animal anatomy and improve your drawing skills!
Materials:
- a piece of paper
- a pencil for the guiding lines and sketching
- an eraser
- a black sharpie or a pen for the outlines
- markers or colored pencils for coloring
- our printable drawing guide (Join my Email List below to get this Tutorial)
Here are my RECOMMENDED Art Supplies!
- Crayola Coloring Set (140 Pieces – Mega Value!)
- 24 Colored Crayon Set
- A4 Printer Paper
- Crayola Coloring Pencils
- HP Home Printer with Instant Ink!
Time needed:
15 minutes.
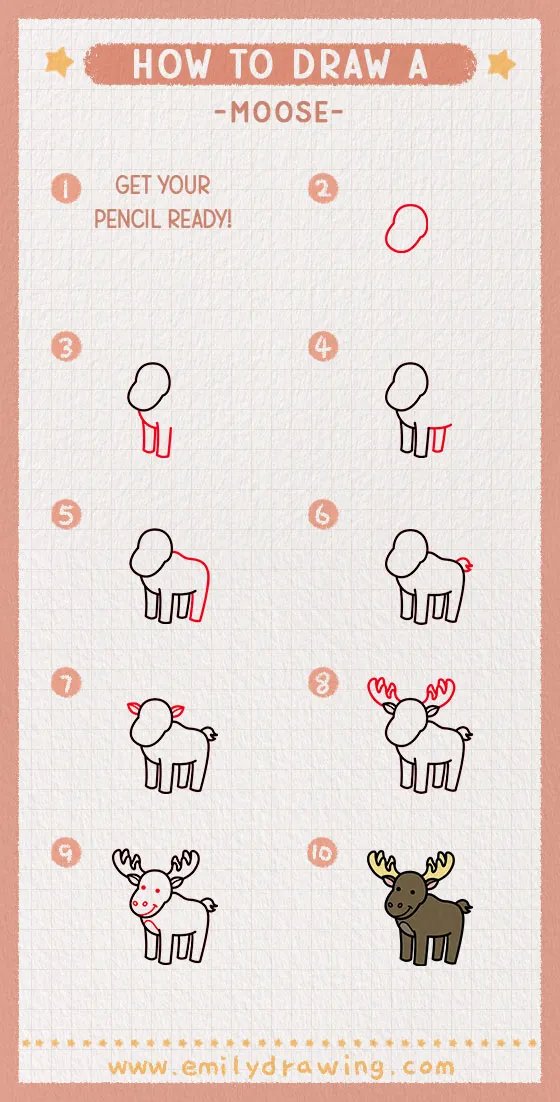
How to Draw a Moose — Let’s get started!
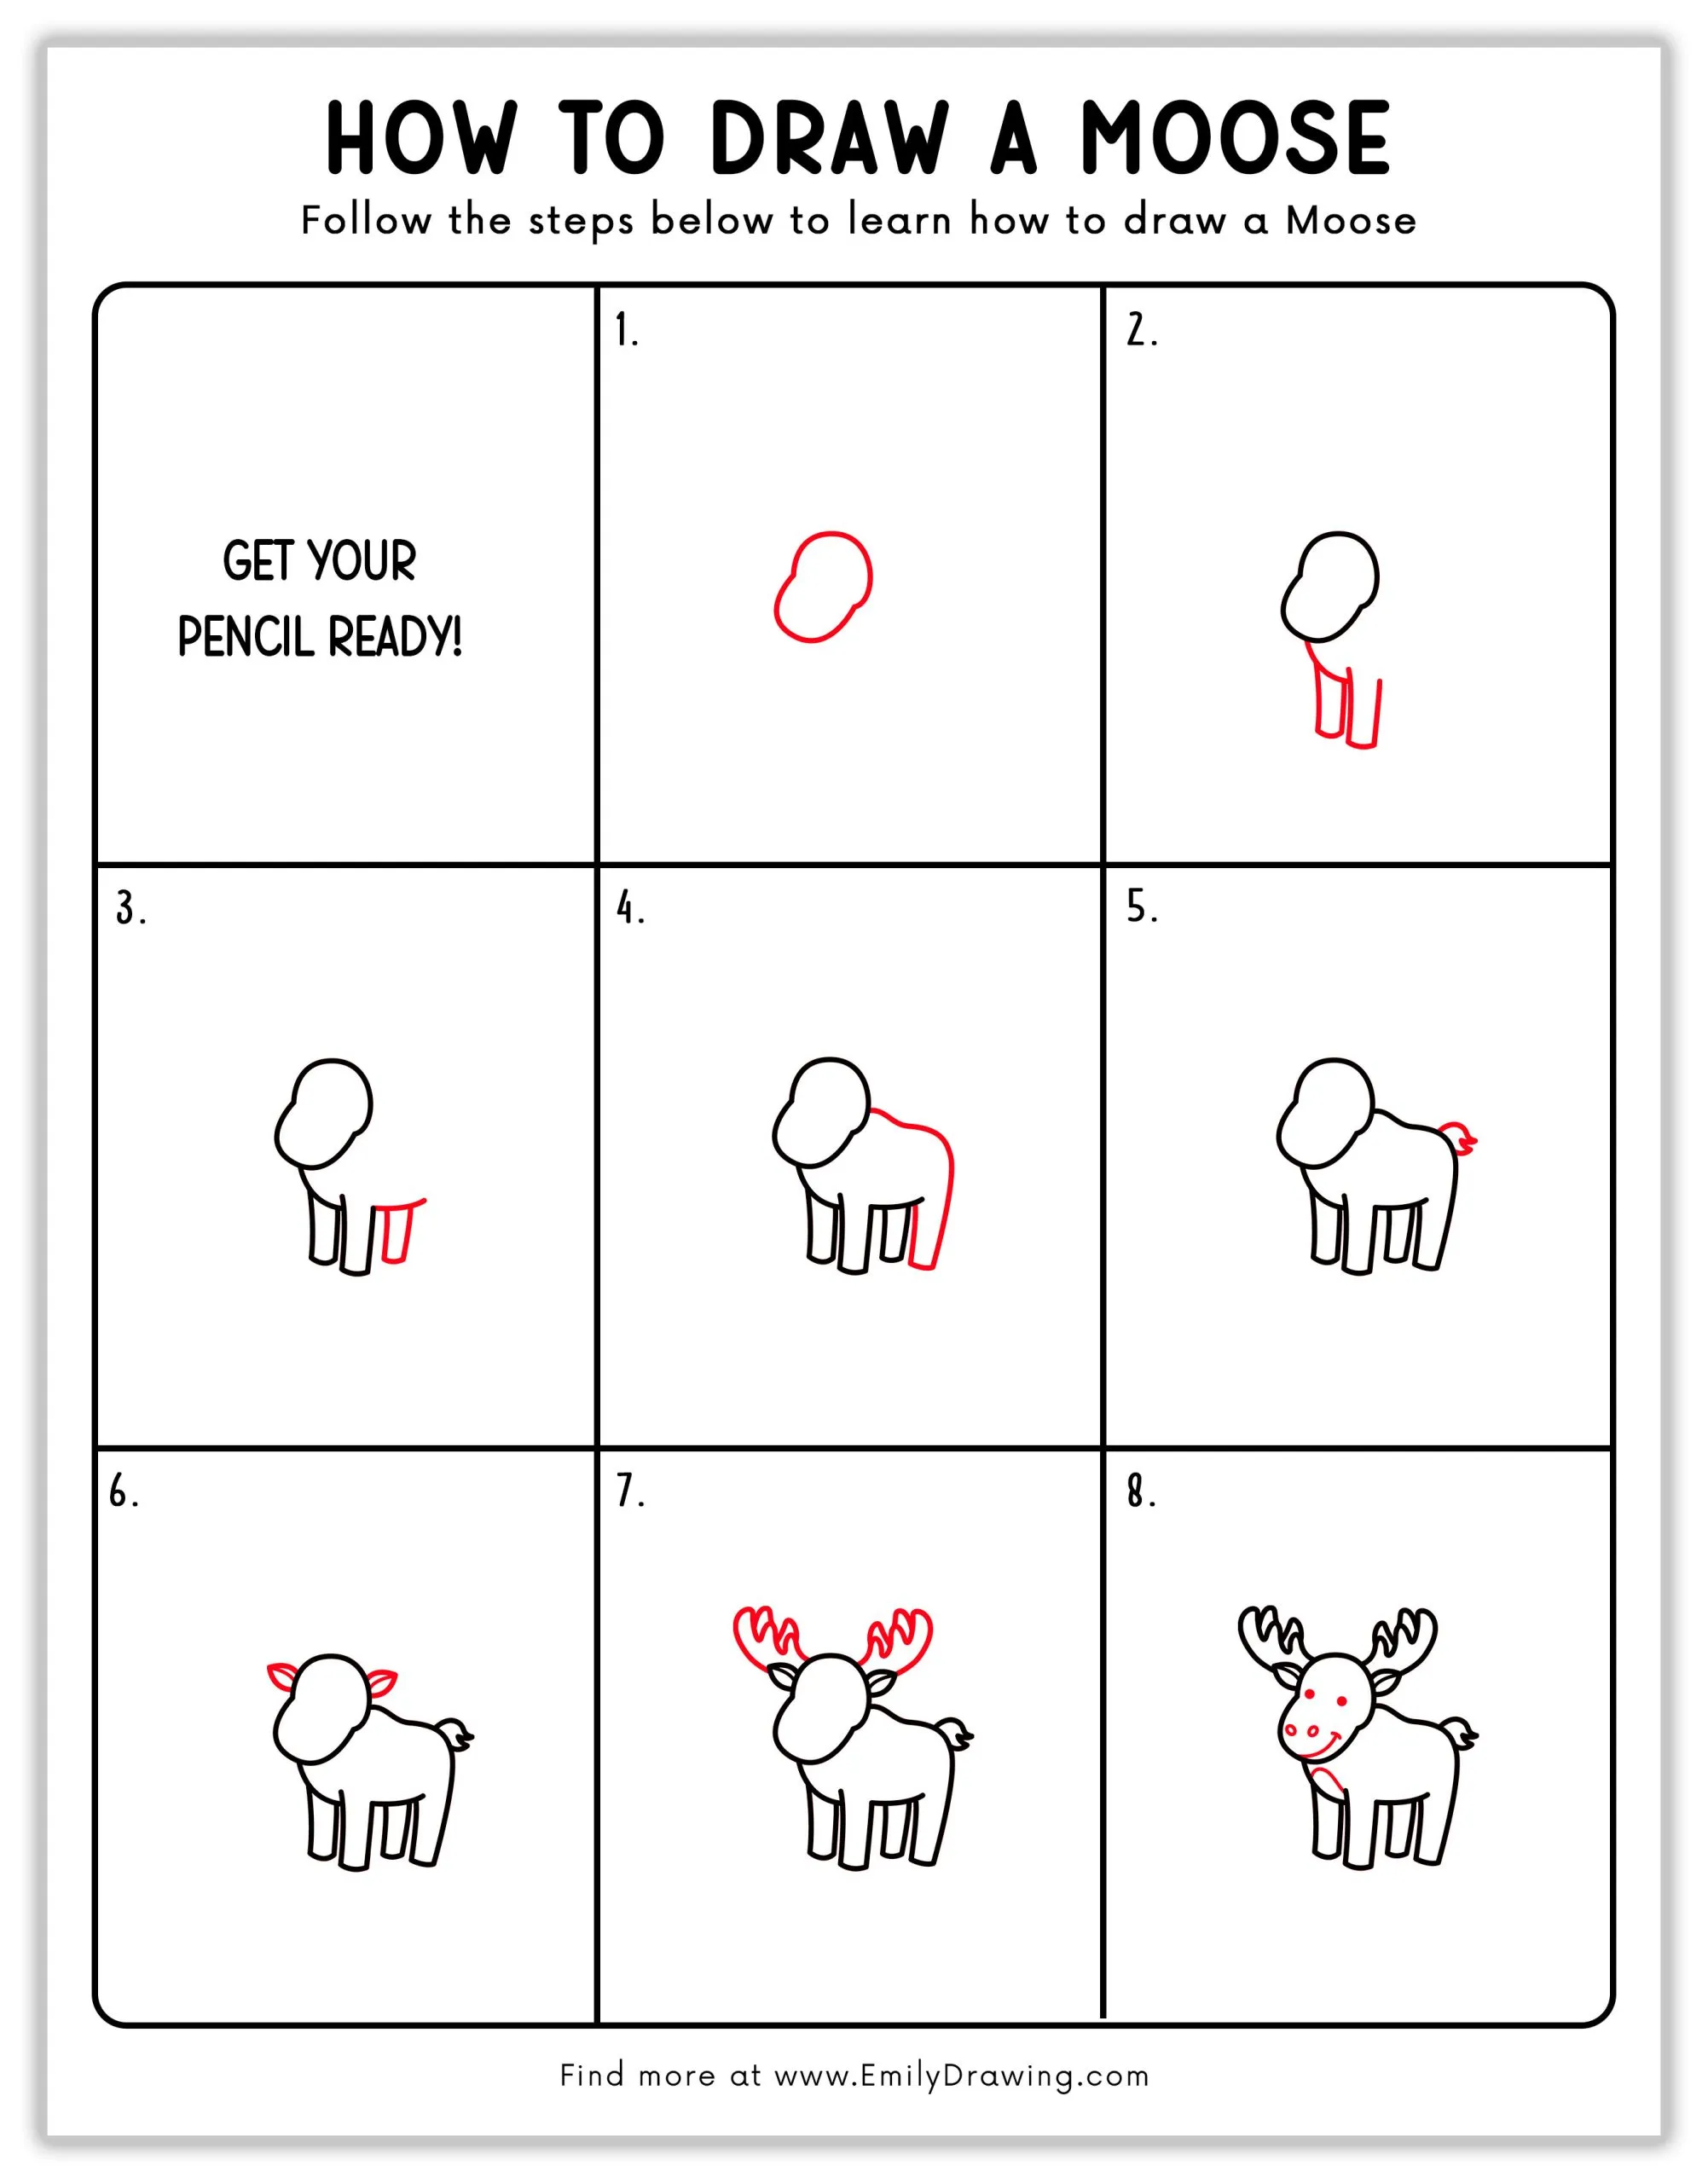
Step 1 – Draw the Moose’s Head
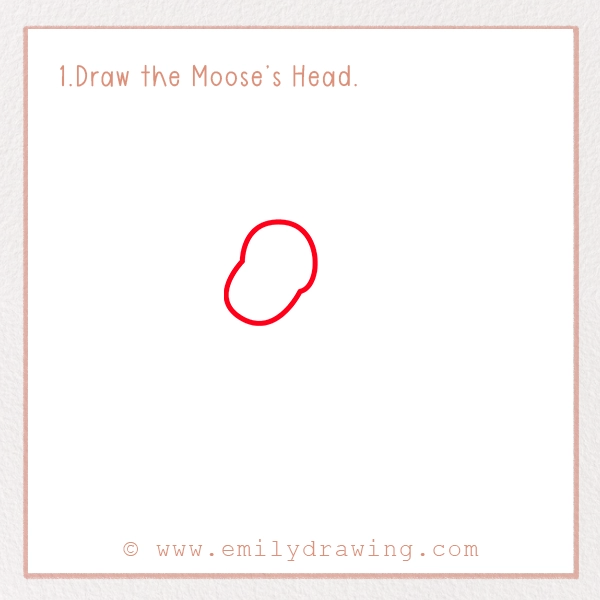
Start by drawing a rounded shape for the head. It should look like an oval with a little bump on one side. This bump will be the moose’s snout. Keep your lines light so you can easily erase and adjust them later. You can refine the shape as you go, making the snout slightly elongated to match a real moose’s face.
Step 2 – Add the Neck and Front Legs
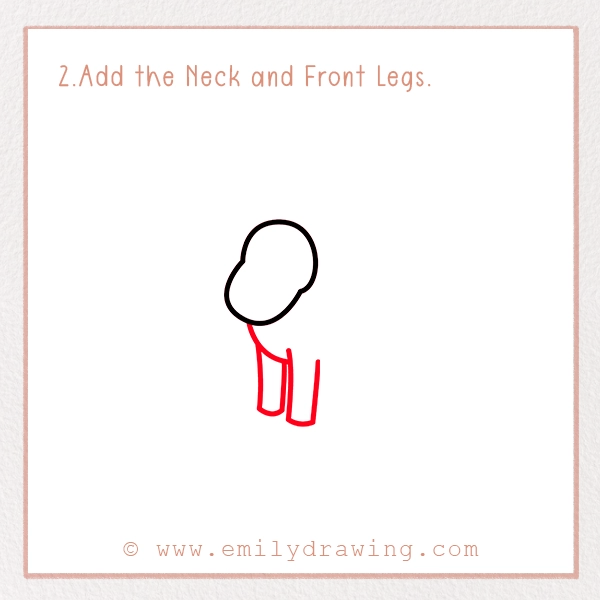
From the bottom of the head, draw two slightly curved lines going downward. These will form the neck. Then, at the bottom of the neck, sketch two vertical rectangles to make the moose’s front legs. Moose have long, sturdy legs, so make sure they look strong and balanced. The legs should be parallel but slightly tapered at the bottom.
Step 3 – Draw the Right Hind Leg and Belly
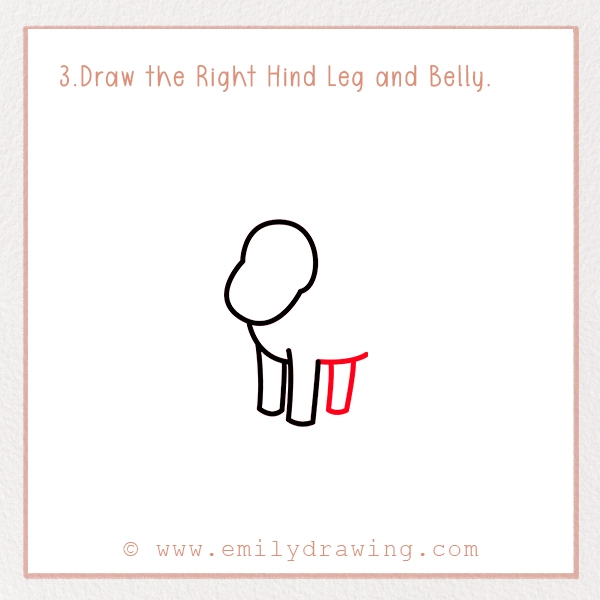
Now, let’s continue shaping the moose’s body. From the back of the front legs, draw a curved line that moves slightly upward—this will be the moose’s belly. Next, add one vertical rectangle at the back to represent the moose’s right hind leg. The hind legs are a bit thicker than the front ones, so adjust their width accordingly.
Step 4 – Sketch the Back and the Left Hind Leg
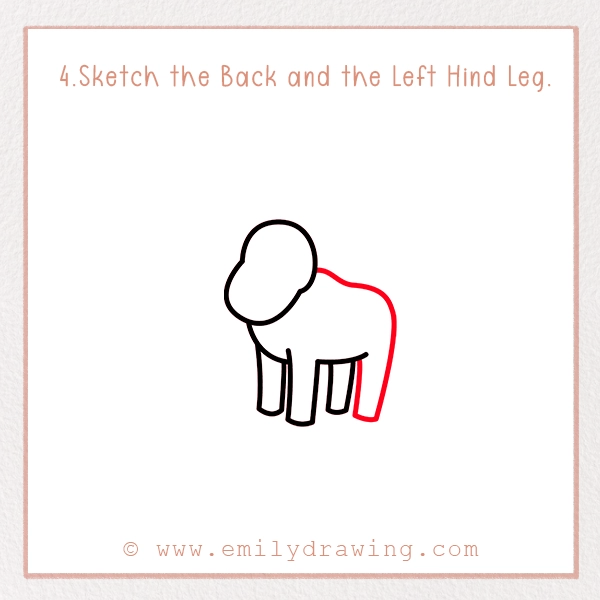
Now, complete the main body by drawing a curved line from the back of the head down to the tail area. This forms the moose’s back. Then, add another vertical rectangle behind the right hind leg to create the moose’s left hind leg. Moose have a strong and muscular back, so make sure the curve looks natural.
Step 5 – Draw the Tail
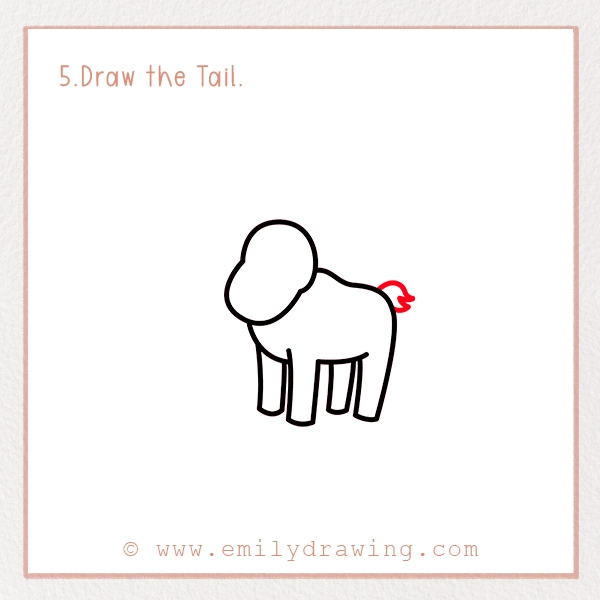
At the back of the body, add a small, fluffy tail. Moose have short tails compared to other animals, so keep it small and simple. A short, curved line with a little flick at the end works perfectly.
Step 6 – Add the Ears
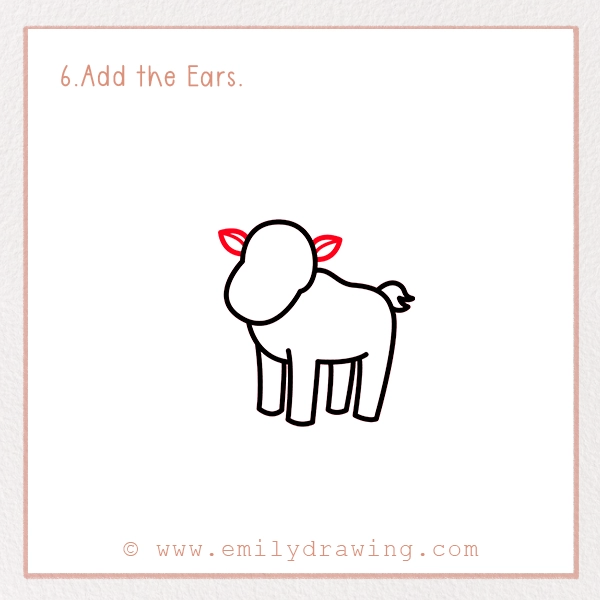
Moose have small, rounded ears that stick out from the sides of their heads. Draw two little ovals on each side of the head. Position them slightly higher up so they look alert and lively. This detail helps make the moose look more realistic.
Step 7 – Draw the Antlers
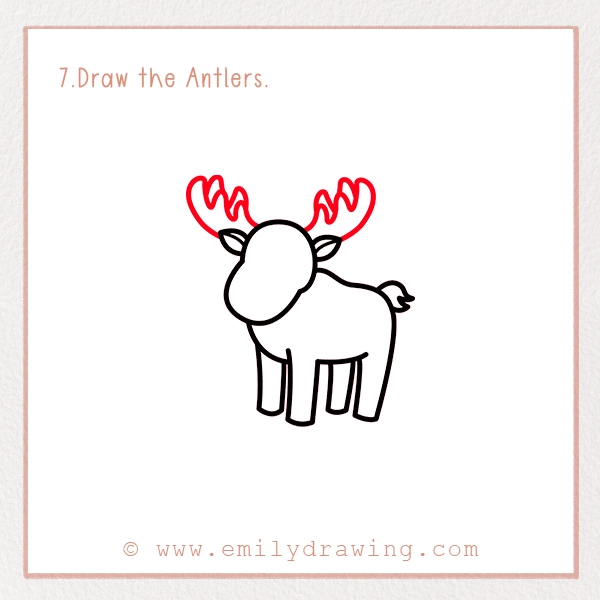
Now comes the fun part—adding the antlers! Moose have large, impressive antlers that branch out in different directions. Start at the top of the head and draw wavy, branching shapes. You can make them as big as you like! If this part seems tricky, break the antlers into sections, starting with a basic shape and then adding details.
Step 8 – Add the Face Details
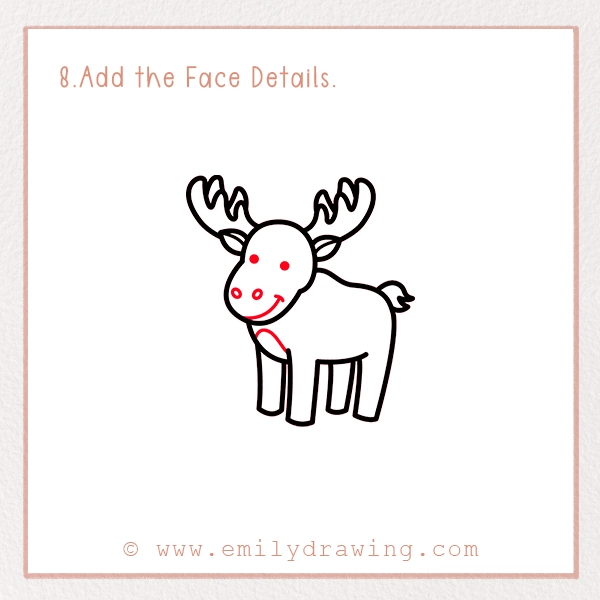
Time to give your moose some personality! Draw two small circles for the eyes and a larger oval for the nose. Add two tiny dots for the nostrils and a small curved line for the mouth. A smiling moose always looks friendly, so make sure to curve the mouth slightly upward.
Step 9 – Color Your Drawing!
Great job! Now, it’s time to bring your moose to life with color. Use brown shades for the body, a darker brown for the antlers, and black for the hooves. You can also add a background, like a forest or a snowy field, to complete your masterpiece!
Pin it now, Draw later!
Fun Facts About Moose!
Did you know these cool facts about moose?
- Moose are the largest members of the deer family!
- Their antlers can grow up to 6 feet (1.8 meters) wide—wider than most people are tall!
- Despite their size, moose are excellent swimmers and can hold their breath underwater for 30 seconds!
- Moose love eating aquatic plants, and they often dip their heads underwater to reach them.
- Unlike deer, moose are solitary animals and prefer to roam alone rather than in groups.
Tips and Tricks for Better Drawing
- Want to make your drawing even better? Here are some helpful tips:
- Use light pencil strokes at first so you can erase mistakes easily.
- Observe real moose in photos or videos to understand their proportions better.
- Break down complex shapes into simpler ones. The antlers, for example, can start as curved lines before adding details.
- Moose have long legs, so make sure they’re proportional to the body.
- Experiment with shading to add depth and make your drawing more realistic.
- Try different expressions! Give your moose a funny face or a sleepy look for extra personality.
The History of Moose in Art (Bonus Section!)
Moose have been featured in art for centuries! Ancient cave paintings depict moose alongside other animals, showing how important they were to early human societies. Indigenous tribes in North America often carved moose into totems and used their images in storytelling. Today, moose appear in cartoons, logos, and children’s books. Learning to draw a moose is not just fun it connects you to a long tradition of wildlife art!
Common Drawing Mistakes and How to Fix Them
Even the best artists make mistakes! Here are some common issues when drawing moose and how to correct them:
Mistake: Legs are too short or too long.
Fix: Compare the legs to the body. Moose legs should be about half the height of their body.
Mistake: Antlers look uneven.
Fix: Sketch both antlers lightly at the same time before adding details.
Mistake: Moose looks stiff.
Fix: Add slight curves to the back and legs to make the pose more natural.
You did it! You’ve learned how to draw a moose step by step. We hope you had fun creating your masterpiece. Want to share your drawing? Post it on social media with #EmilyDrawing and show off your awesome art! If you loved this tutorial, check out more fun drawing guides to keep improving your skills.
Get the FREE Printable Drawing Guide