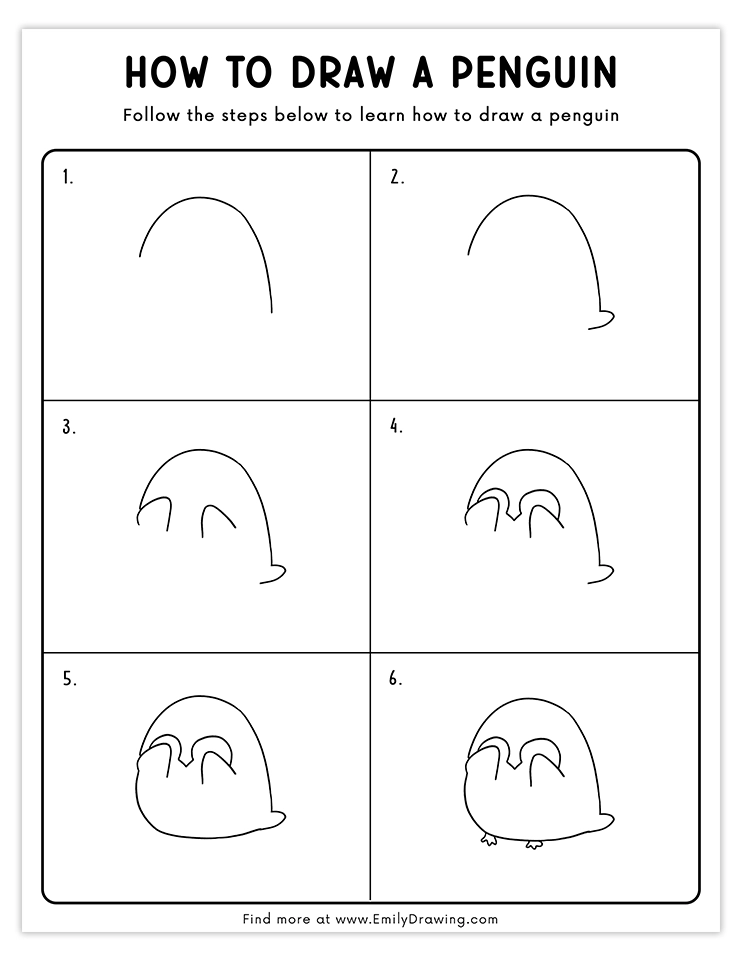
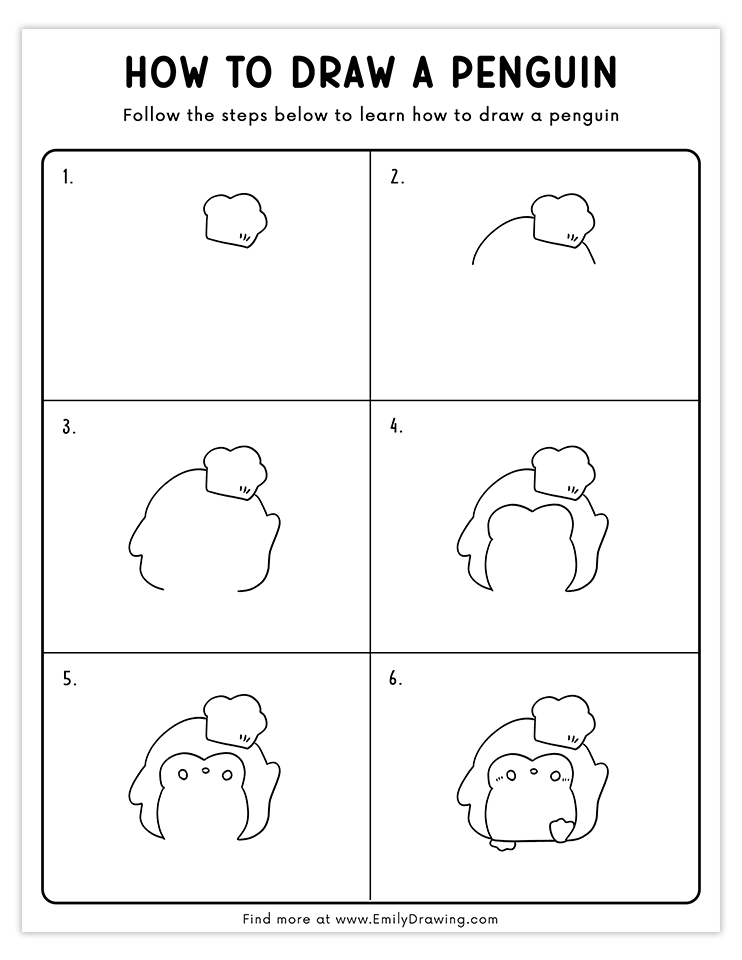
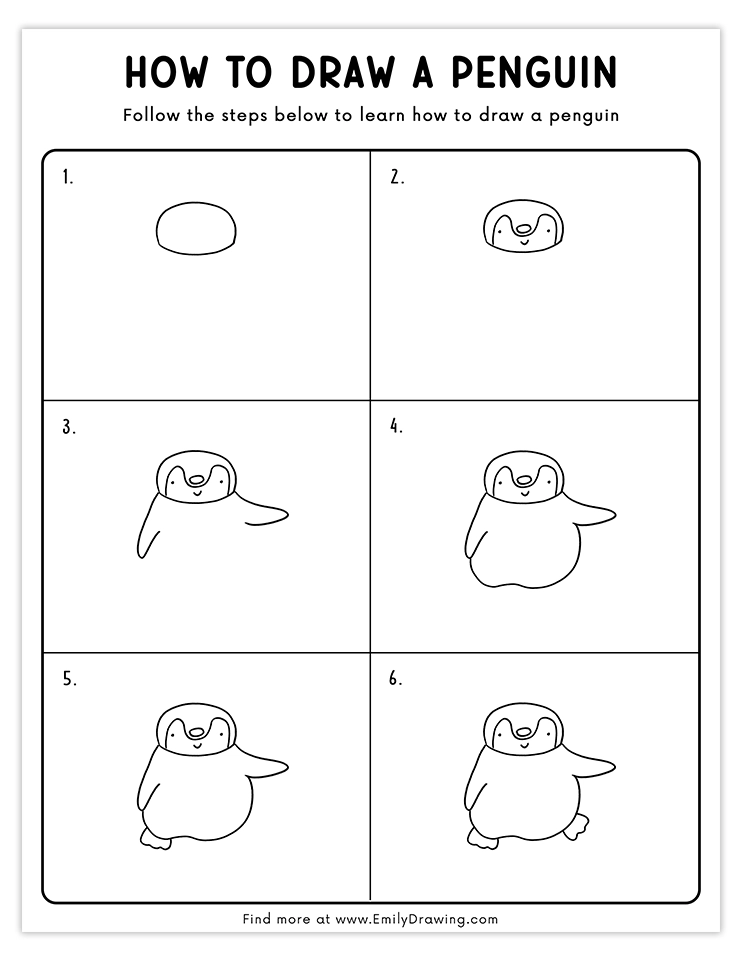
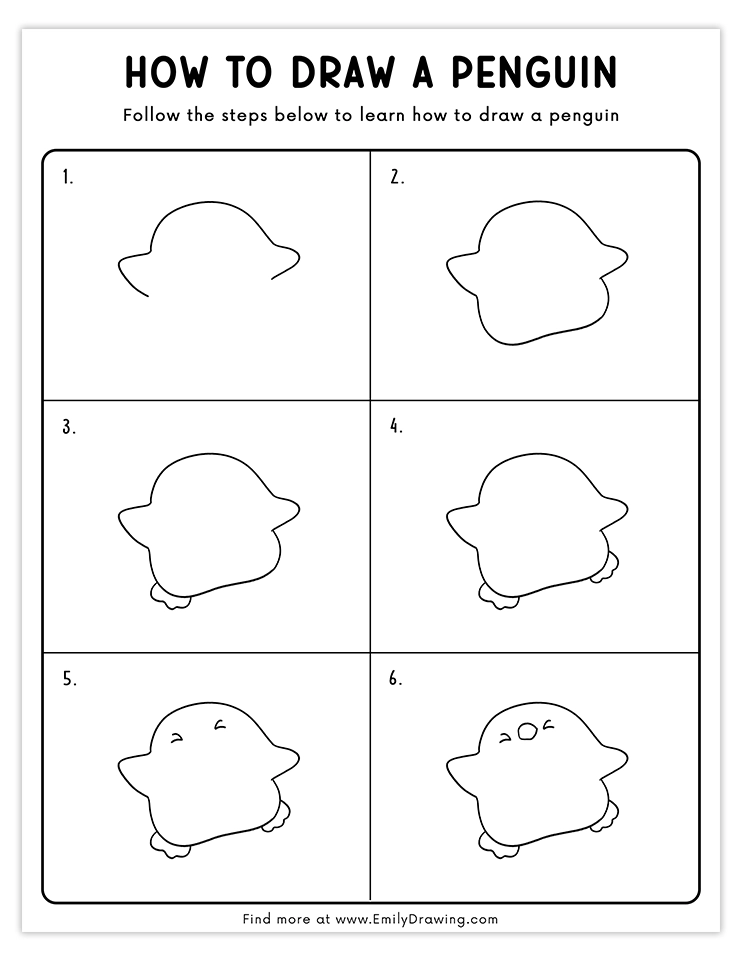
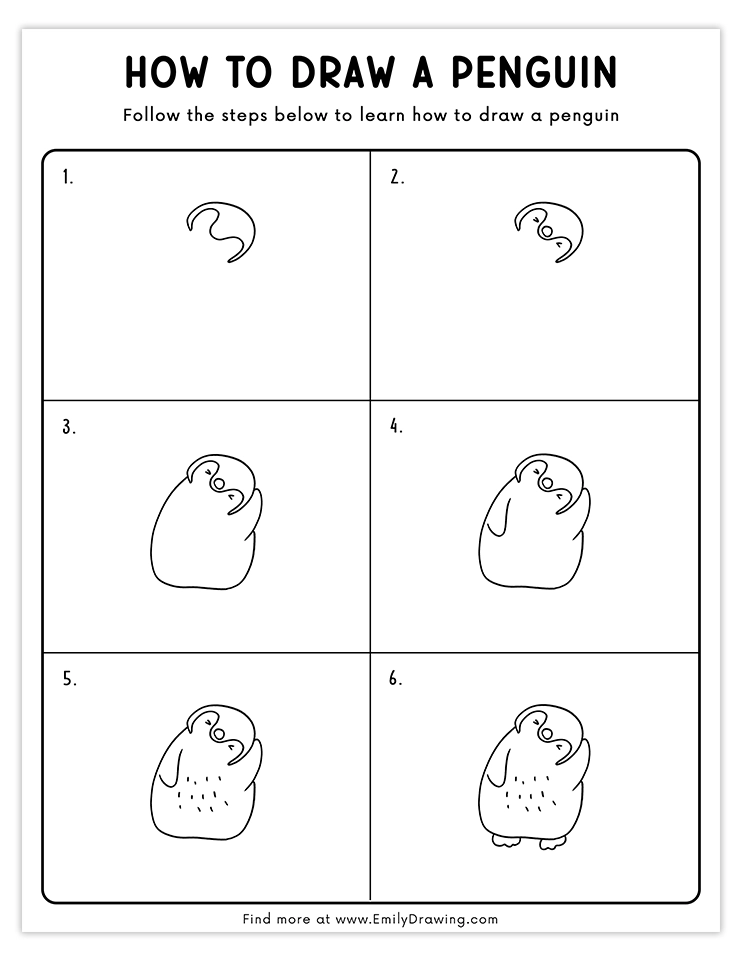
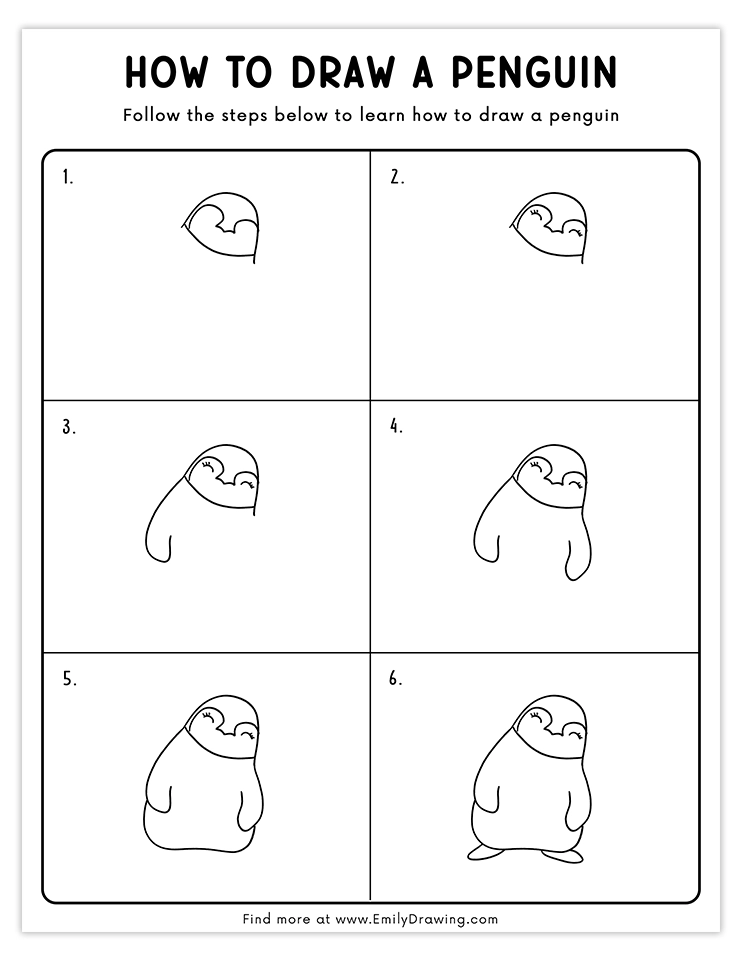
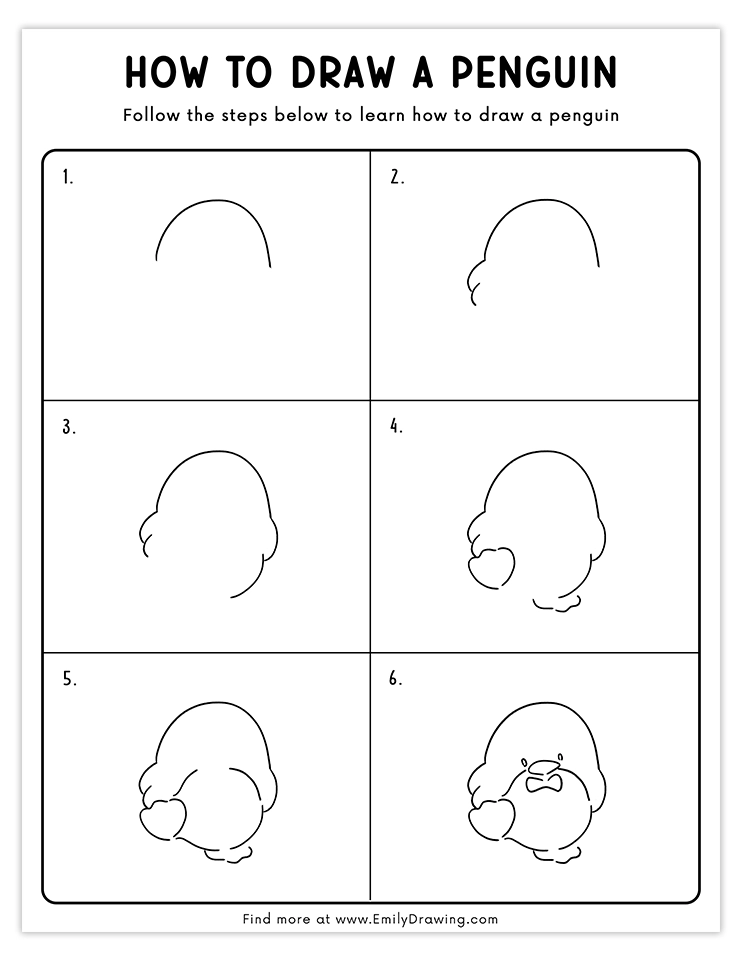
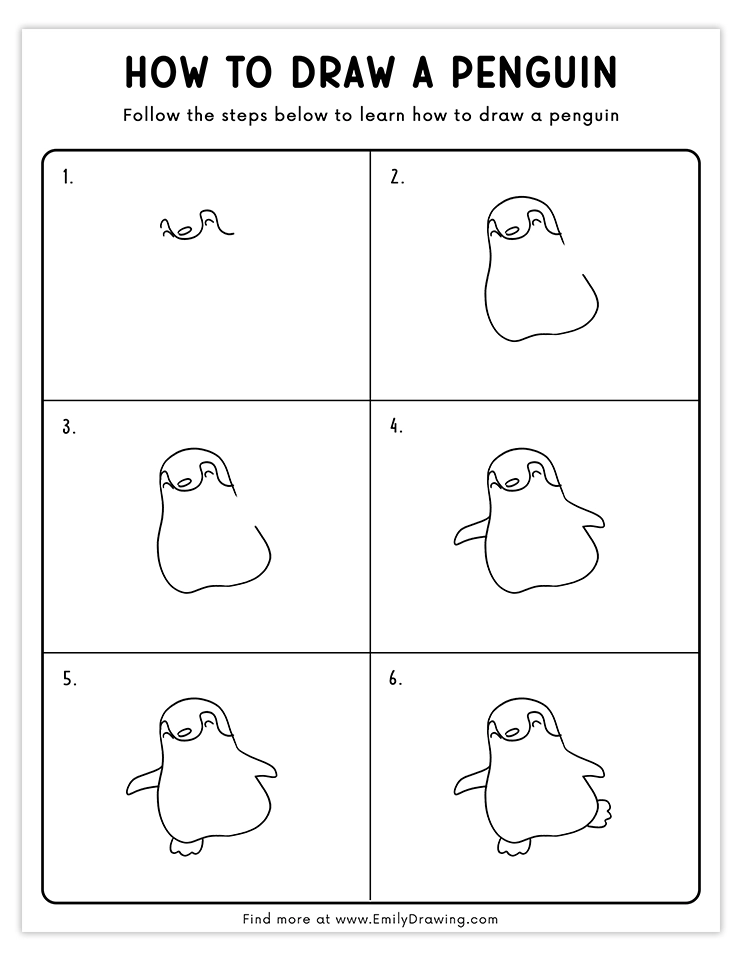
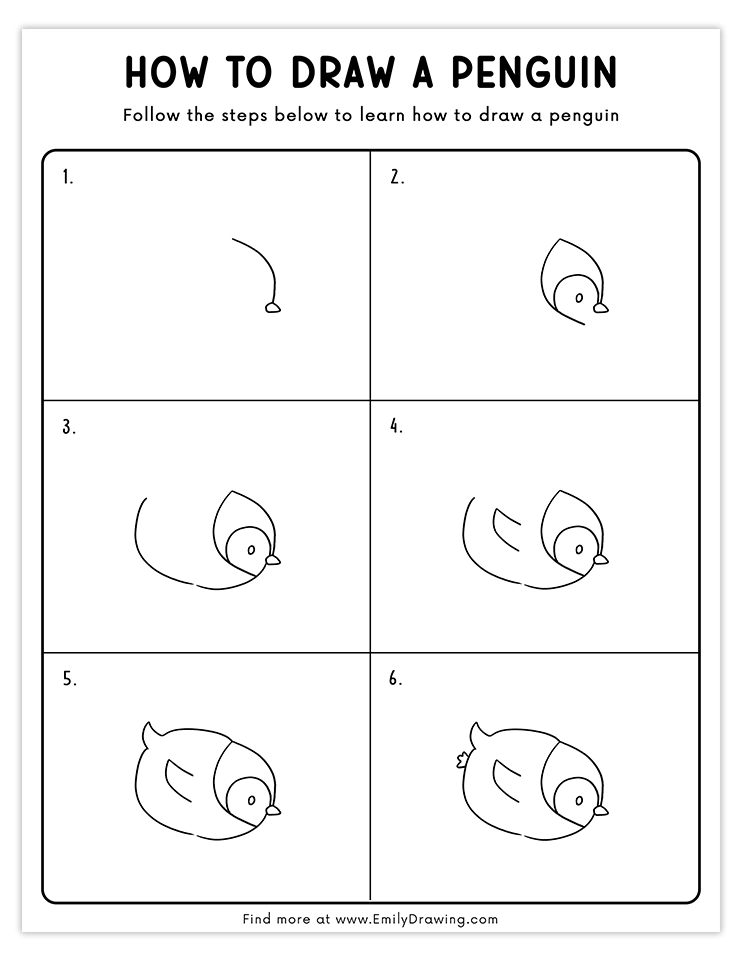
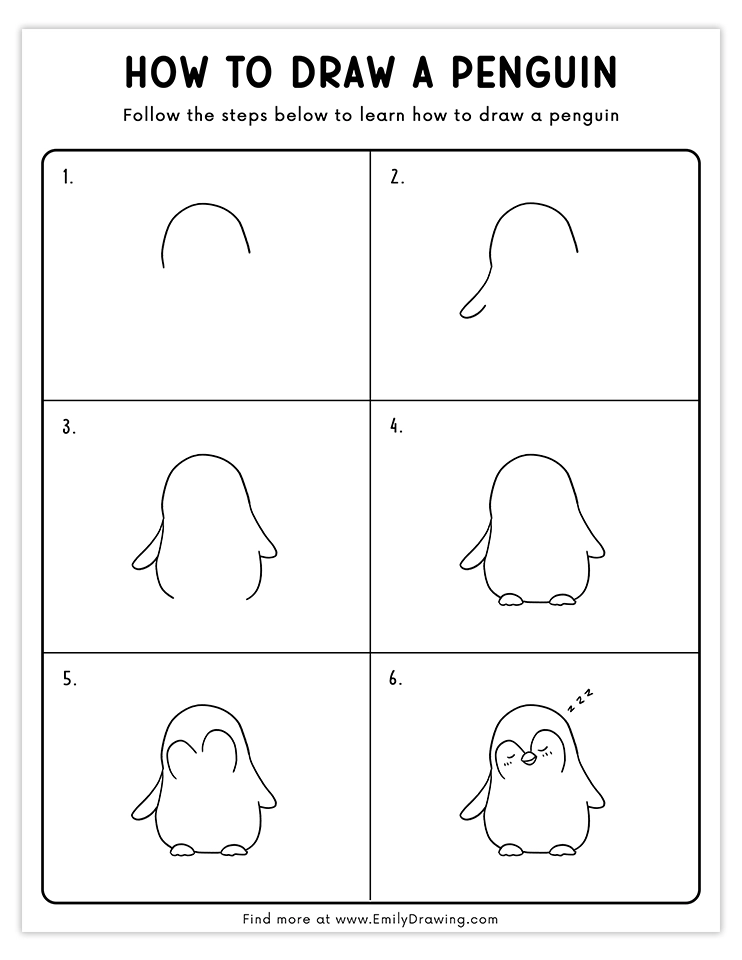
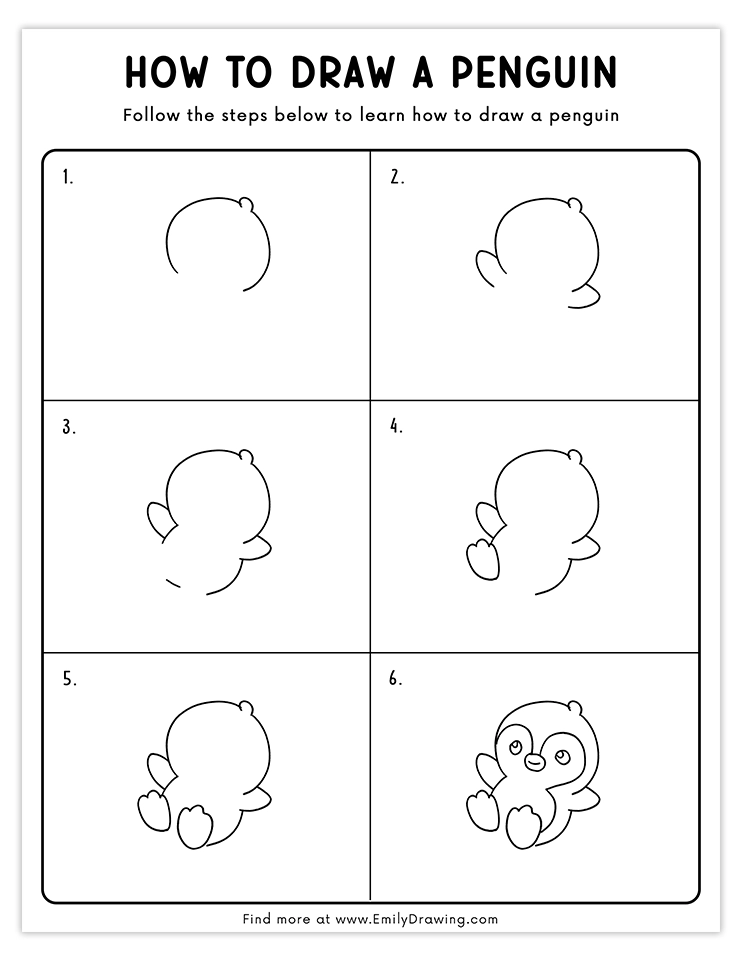
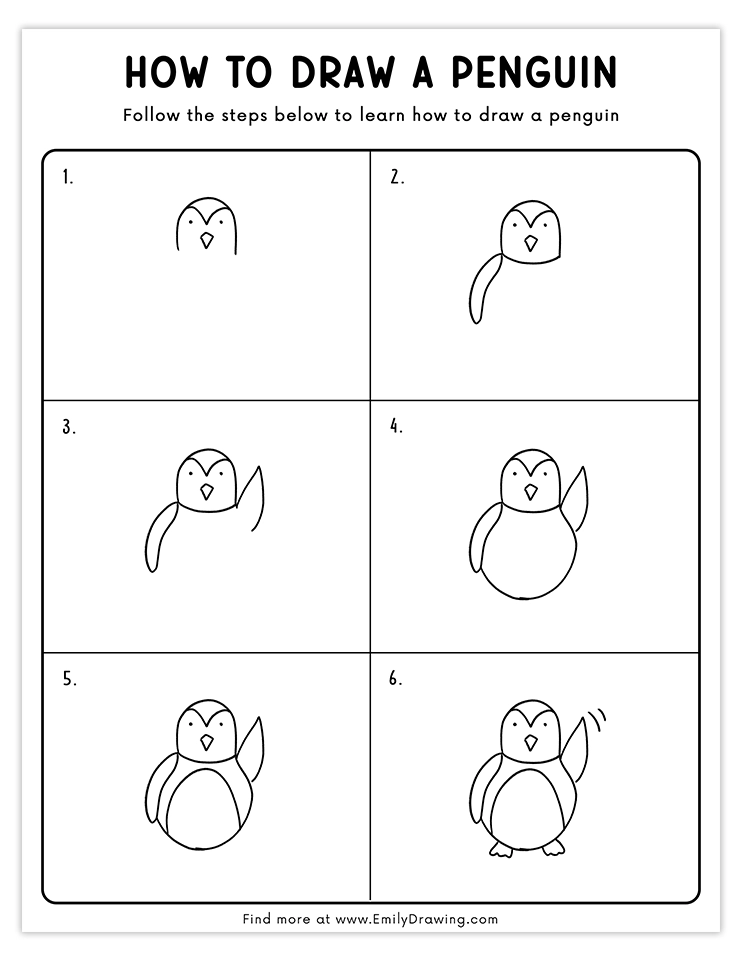
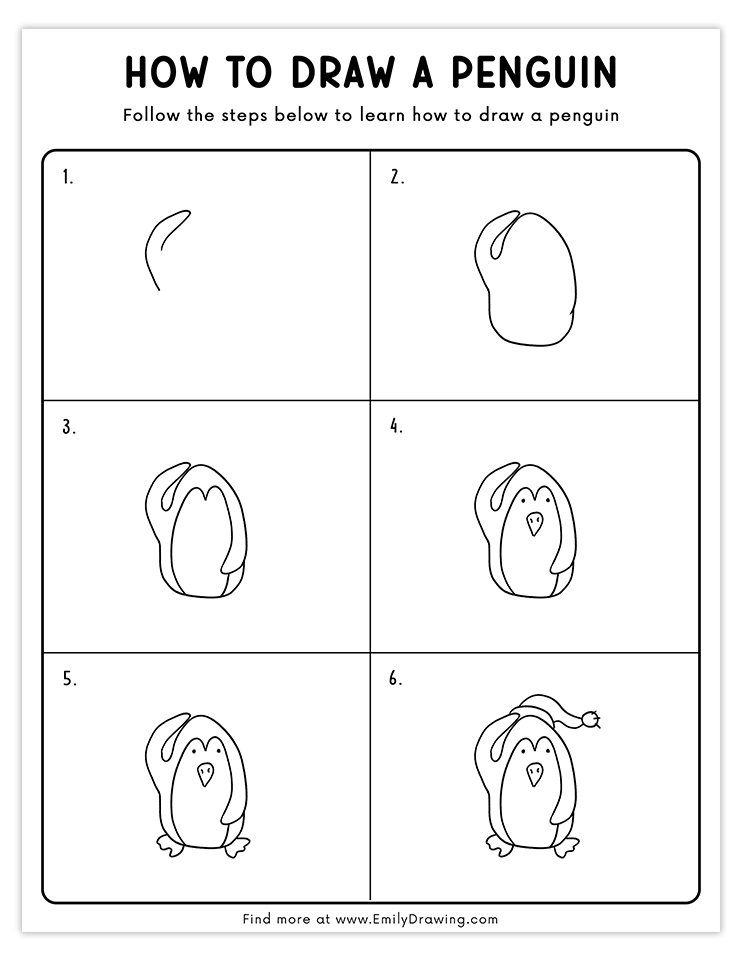
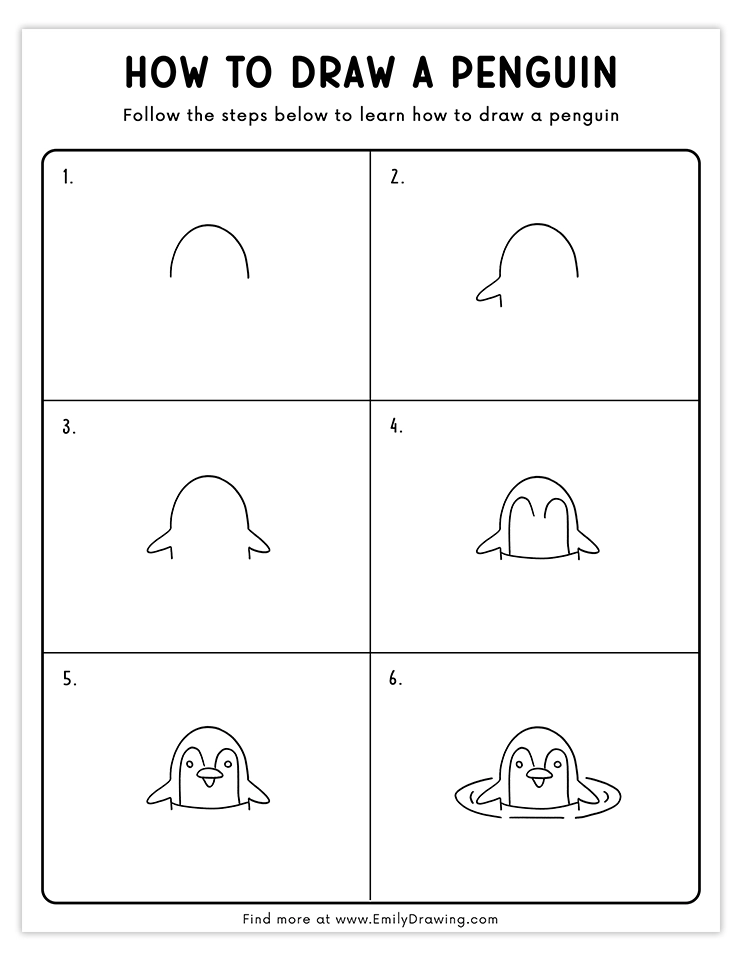
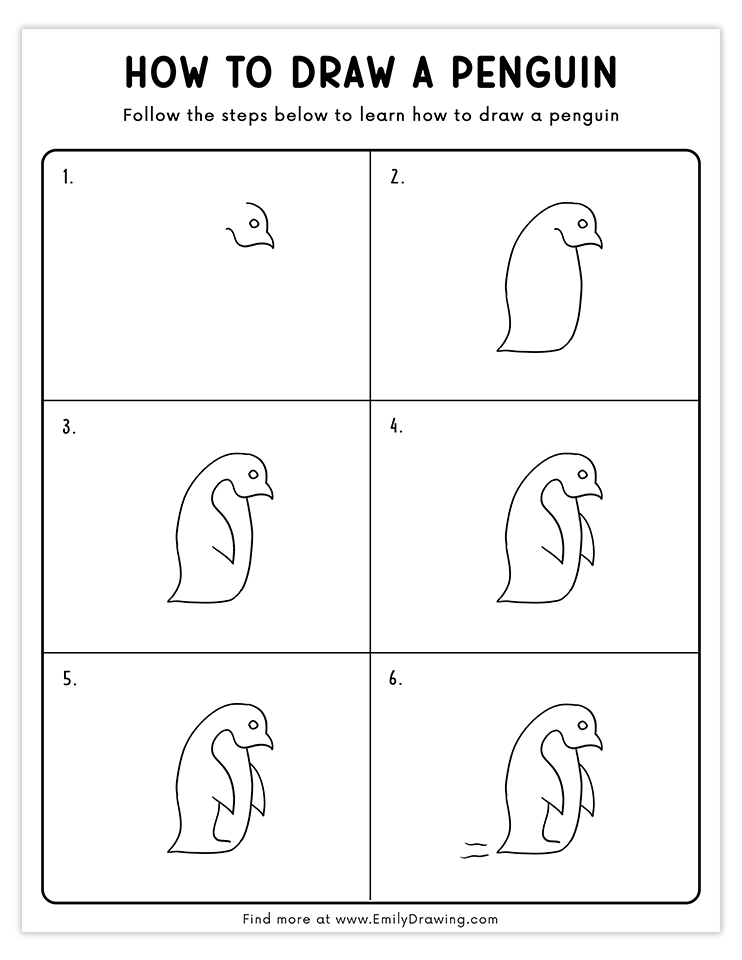
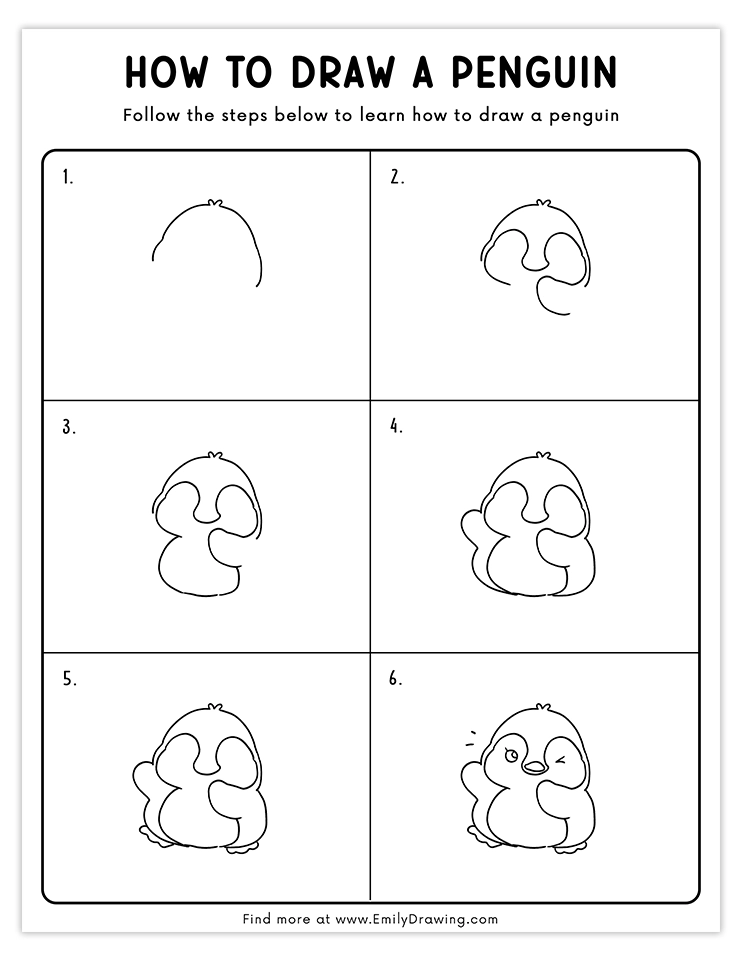
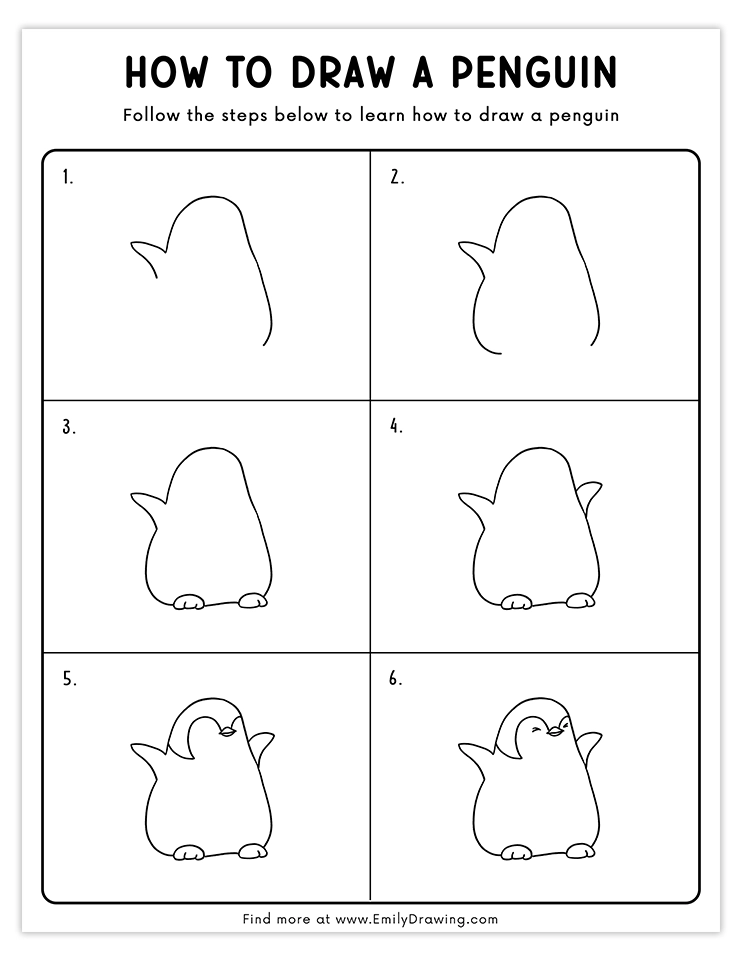
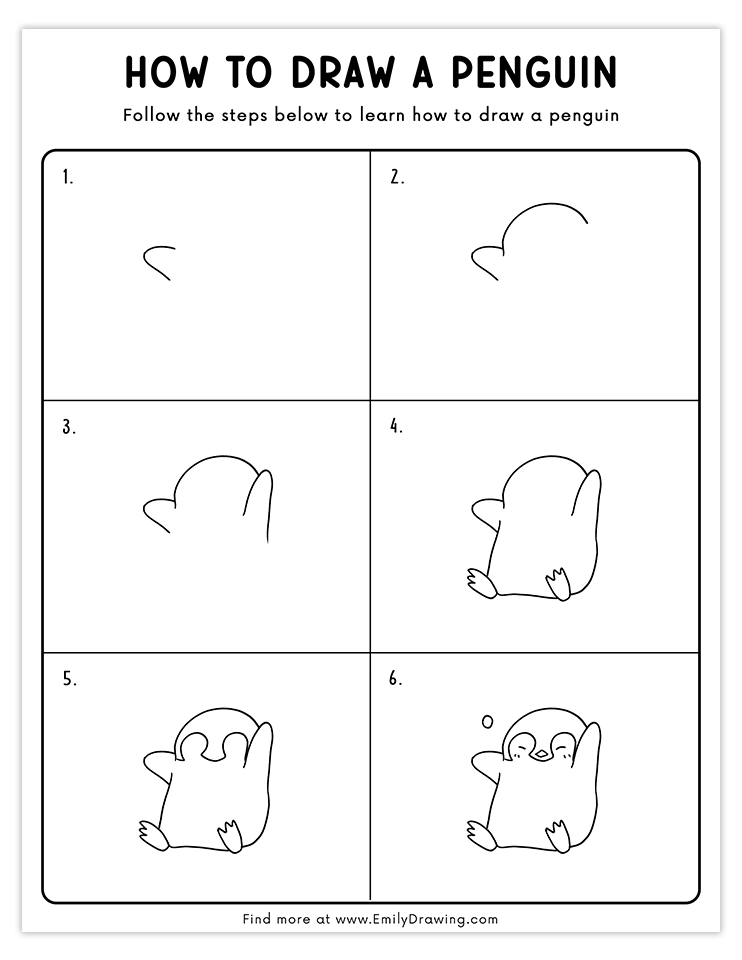
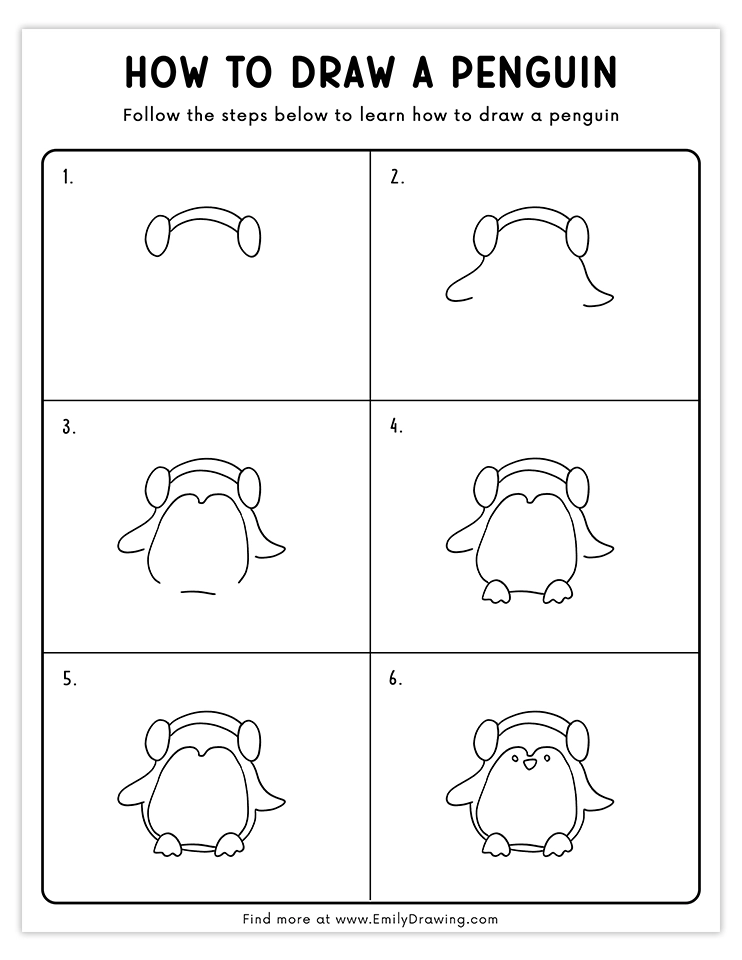
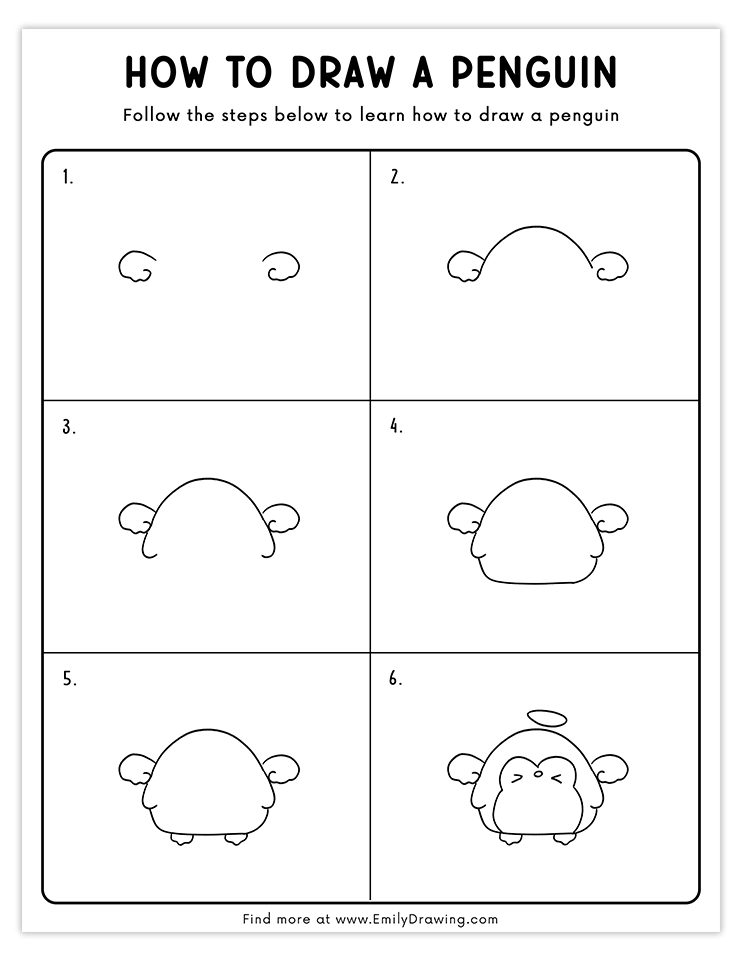
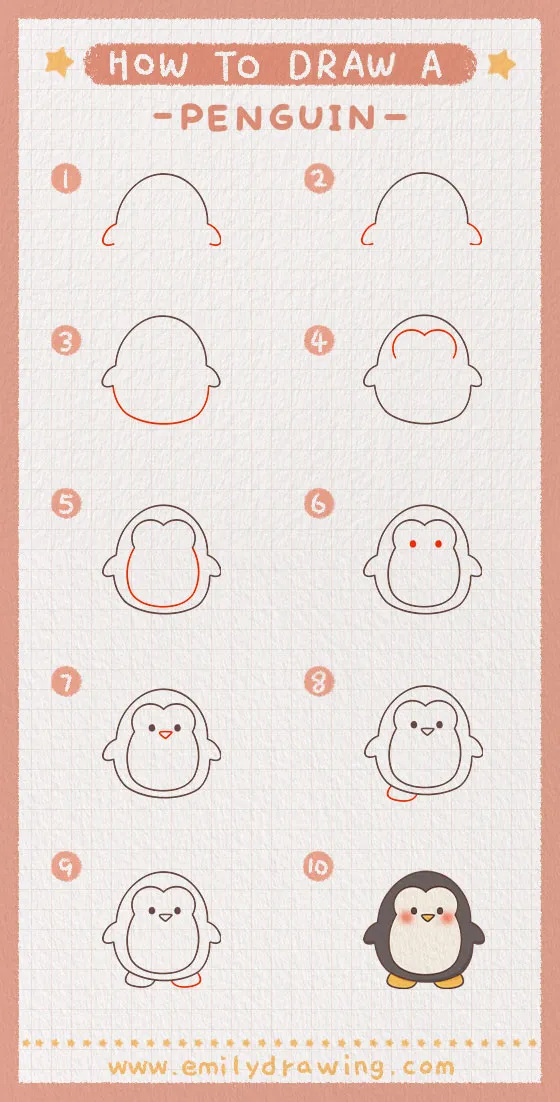
Hi and welcome to another step-by-step art tutorial on Emily Drawing! Are you ready for our awesome art project? Today, in just 10 steps, you’ll learn how to draw a penguin.
Penguins are cute little creatures. Have you ever seen one in person? They only really live in Antarctica and other sub-arctic islands, but there are some penguin sanctuaries in more accessible areas on the globe. Even though we don’t see many, there are around 30 million penguins living right now. Like turtles, they can move on both land and water.
They have also been the stars of many movies, such as Penguins of Madagascar and March of the Penguins. These films have captured the hearts of many, and now penguins are some of the most well-known animals, despite the fact that they only live in remote areas.
Let’s get started with our penguin drawing! Happy drawing!
If you enjoy drawing animals, you might also like How to Draw a Whale or How to Draw a Bunny.
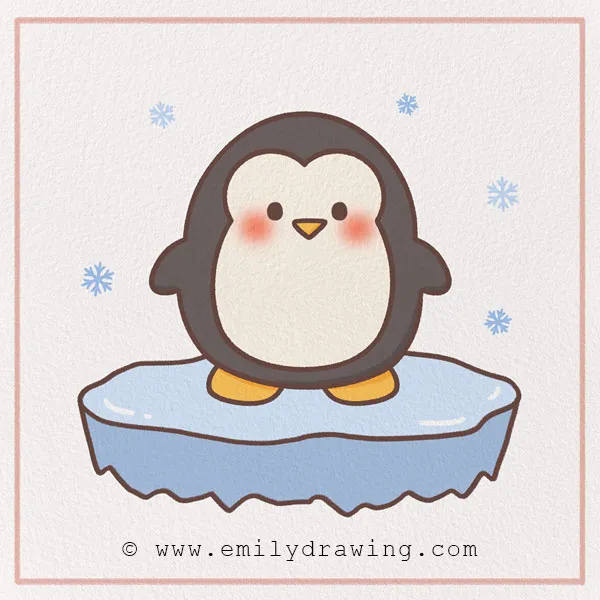
Materials:
- a piece of paper
- a pencil for the guiding lines and sketching
- an eraser
- a black sharpie or a pen for the outlines
- markers or colored pencils for coloring
- our printable drawing guide (Join my Email List below to get this Tutorial)
Here are my RECOMMENDED Art Supplies!
- Crayola Coloring Set (140 Pieces – Mega Value!)
- 24 Colored Crayon Set
- A4 Printer Paper
- Crayola Coloring Pencils
- HP Home Printer with Instant Ink!
Time needed:
12 minutes.
How to Draw a Penguin — Let’s get started!
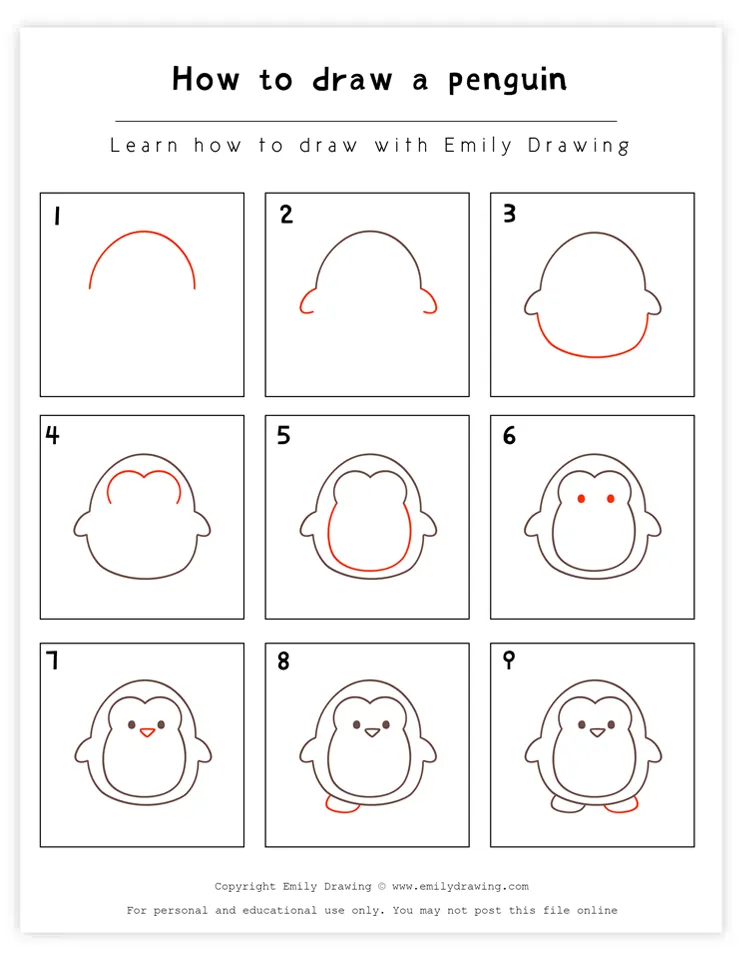
Step 1 – Draw the penguin’s head.
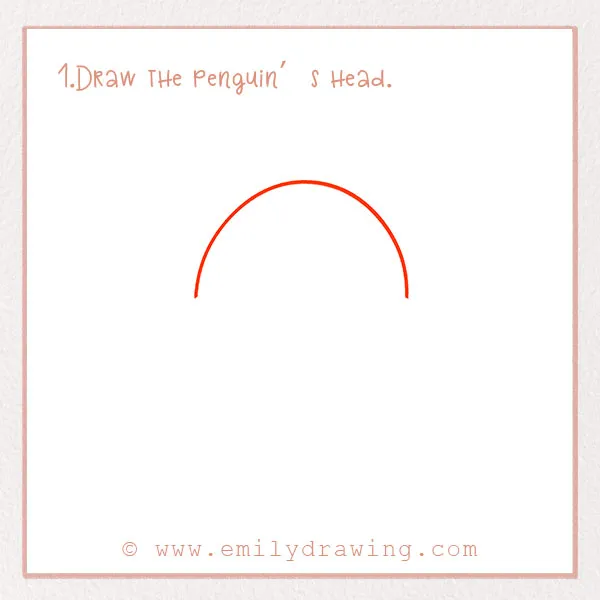
Our penguin is going to be a cute little baby penguin, which is also called a chick. Let’s start with the baby penguin’s head!
To form this, draw a large arc near the top of the page. It should take up about half of the page!
Step 2 – Draw the flippers!
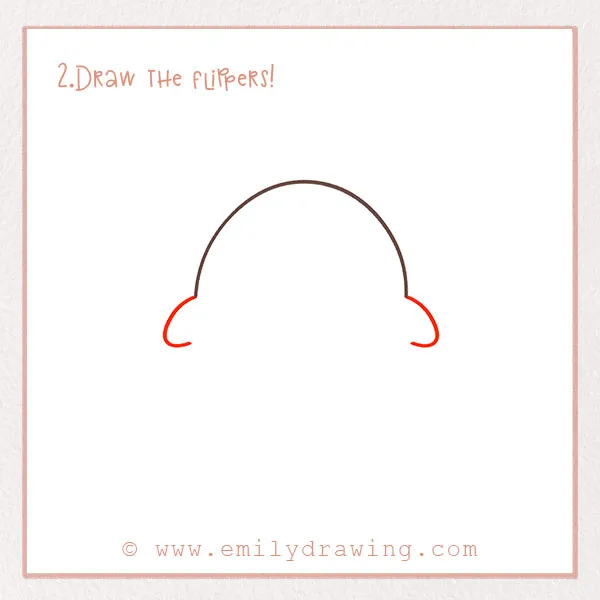
Penguins have flippers, which help them swim. They look like wings, but are technically called flippers. Let’s add them now.
On either side of the arc you just draw, add two little curves for the flippers. Since our penguin is a baby, its flippers are still small!
Step 3 – Draw the penguin’s belly.
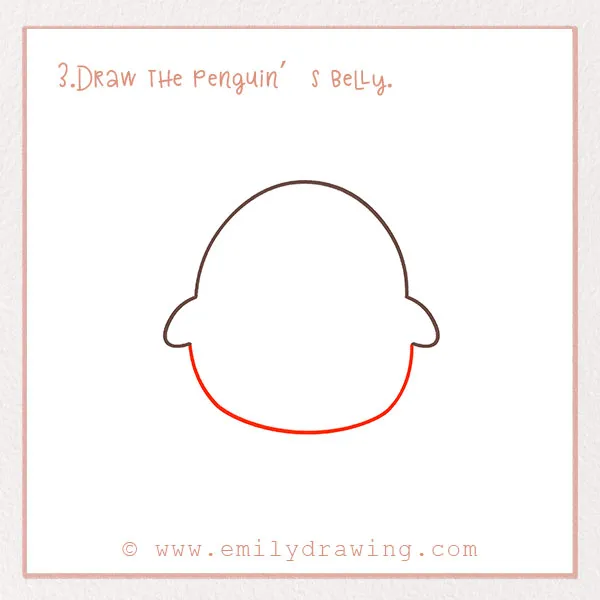
Let’s finish the outline of the penguin’s body now. Draw a big arc to form a belly. The basic outline is complete now, good job!
For more practice with rounded forms, consider How to Draw a Turtle or How to Draw a Snail.
Step 4 – Add the penguin’s markings.
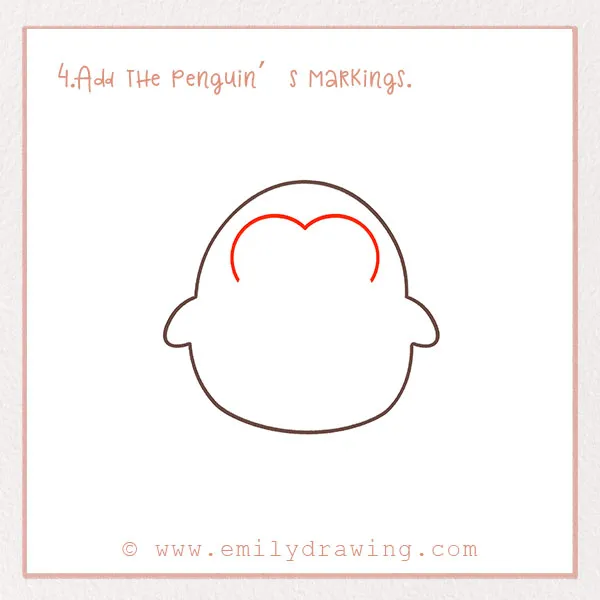
Penguins famously have distinctive black and white markings. Normally, their face and belly are white and the rest of their body is black. Baby penguins, however, have fluffy gray fur when they are born!
Anyway, we need to add these markings. On the penguin’s head, draw two curves that connect into a point in the middle. Check out the photo! We’ll color them in later.
Step 5 – Finish the markings.
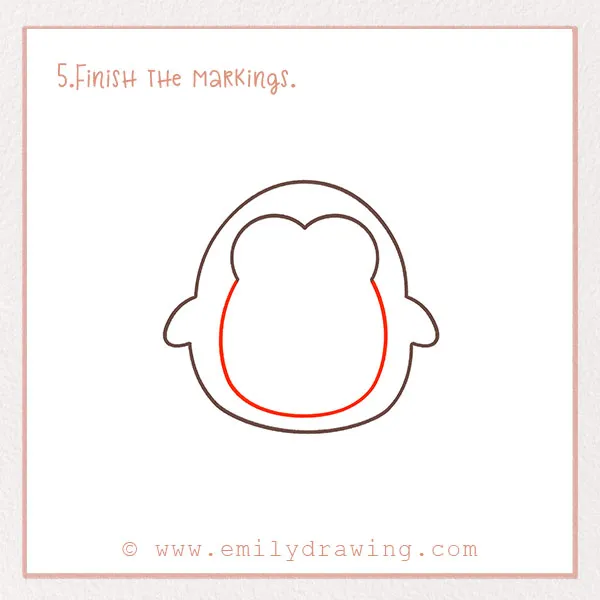
Finish the markings by drawing another big curve on the penguin’s belly! You should have a complete outline inside the penguin’s body now.
If you enjoy working on facial details, check out How to Draw a Panda or How to Draw a Cat.
Step 6 – Draw the penguin’s eyes.
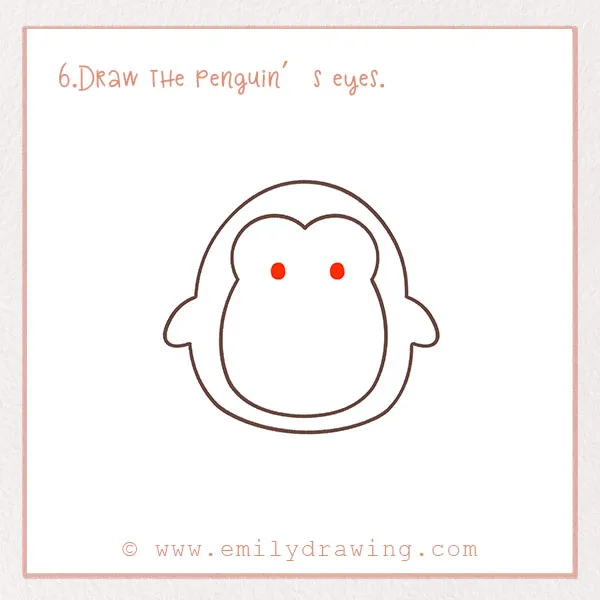
We need to add some personality to our penguin. To do this, let’s add a face! We’ll start with the eyes. Did you know penguins’ eyes are adapted to see both on land and underwater?
Draw two dots about an inch apart from each other for the eyes.
Step 7 – Add a beak.
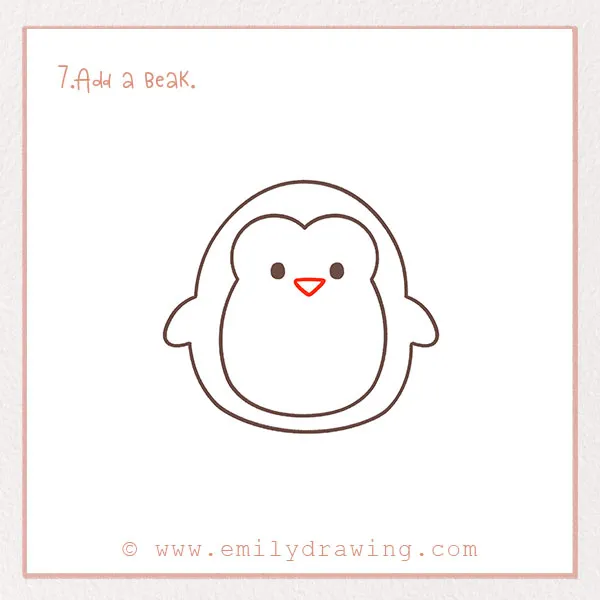
Let’s add the penguin’s beak next, which it uses to eat food, like fish. Normally, a penguin’s beak is bright orange! Centered beneath the eyes, draw a small upside down triangle for the beak.
Step 8 – Draw the left foot.
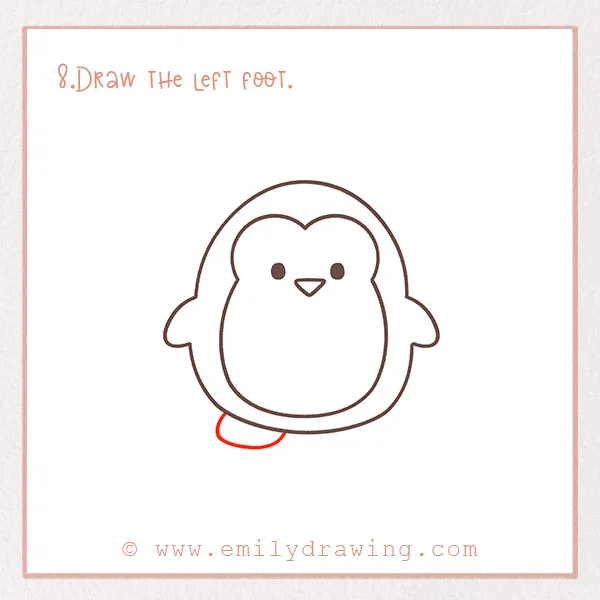
In addition to being swimmers, penguins can also walk! They spend a good amount of time on both land and swimming in water. Although it looks like penguins don’t have legs, they in fact do—however, they are covered up by all their feathers. That’s why we are only drawing the feet here.
Penguins walk, however, looks more like a waddle. For their feet, on the left side of the body, draw a semicircle for the left flipper! Check out the photo.
Step 9 – Add the penguin’s other foot.
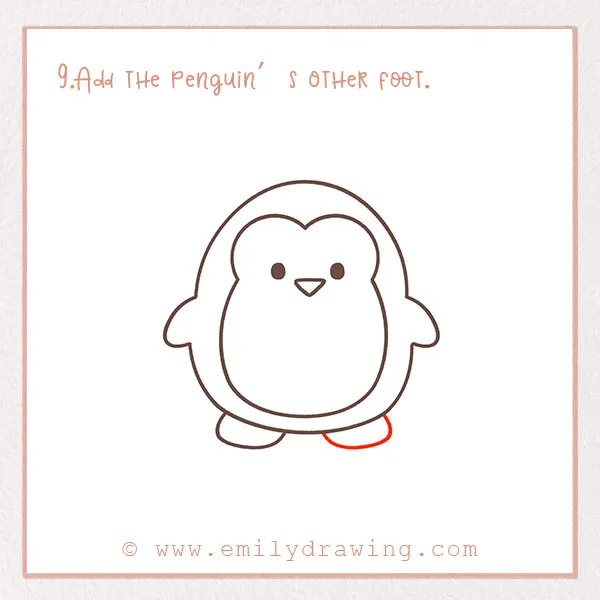
This is very similar to the last step. Just make the same shape for the right foot!
Awesome job—we are almost done.
Step 10 – Color in your penguin drawing!

Last but not least, fill in your drawing with lots of colors! Like we said, penguins are gray, black, white, and orange, but you can do your own thing if you like. Don’t forget to fill in the rest of the drawing! Maybe there is water, an iceberg, or something else nearby.
Congratulations, you’re all done! We hope you absolutely loved this drawing tutorial. If you want more cute animal tutorials, we have so many more to pick from, including a teddy bear, koi fish, and more, so make sure to browse our site.
Complete your collection of animal drawings with How to Draw a Fox or How to Draw a Bird.
Lastly, if you liked this, feel free to share it with friends and family!
Pin it now, Draw later!
Get the FREE Printable Drawing Guide
FREE Download Printable Penguin Drawings Tutorials
