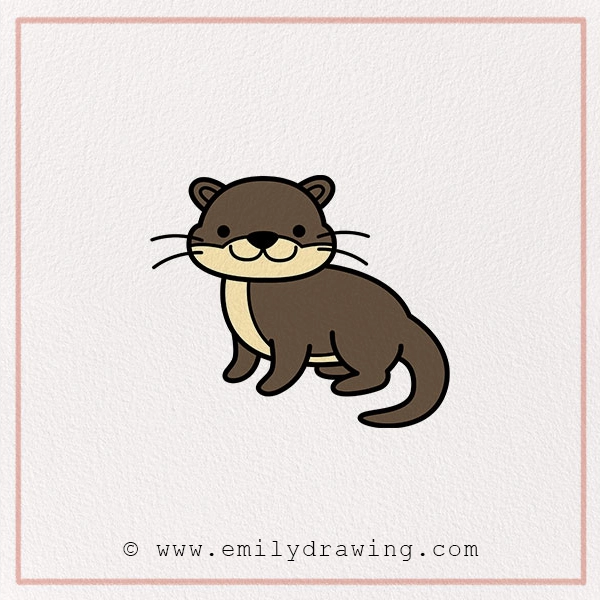
If you want to create realistic otter art, you’re in the right place. We have a straightforward, 9-step otter sketch guide perfect for all skill levels. Our step-by-step tutorials help kids and adults draw the essence and cuteness of an otter on a piece of paper.
It is a charming aquatic mammal that could be a great subject to draw on a Mother’s or Father’s Day card.
They look like water dogs, so their drawings could be a great gift for dog lovers—similar to how you might enjoy creating woodland creatures in our guide on how to draw a chipmunk. That’s why, learning how to draw an otter is essential for the artist of every level.
Now, without wasting any time, let’s start the drawing tutorial—or if you’re in the mood for another furry animal, check out how to draw a chipmunk too!
Materials:
- a piece of paper
- a pencil for the guiding lines and sketching
- an eraser
- a black sharpie or a pen for the outlines
- markers or colored pencils for coloring
- our printable drawing guide (Join my Email List below to get this Tutorial)
Here are my RECOMMENDED Art Supplies!
- Crayola Coloring Set (140 Pieces – Mega Value!)
- 24 Colored Crayon Set
- A4 Printer Paper
- Crayola Coloring Pencils
- HP Home Printer with Instant Ink!
Time needed:
15 minutes.
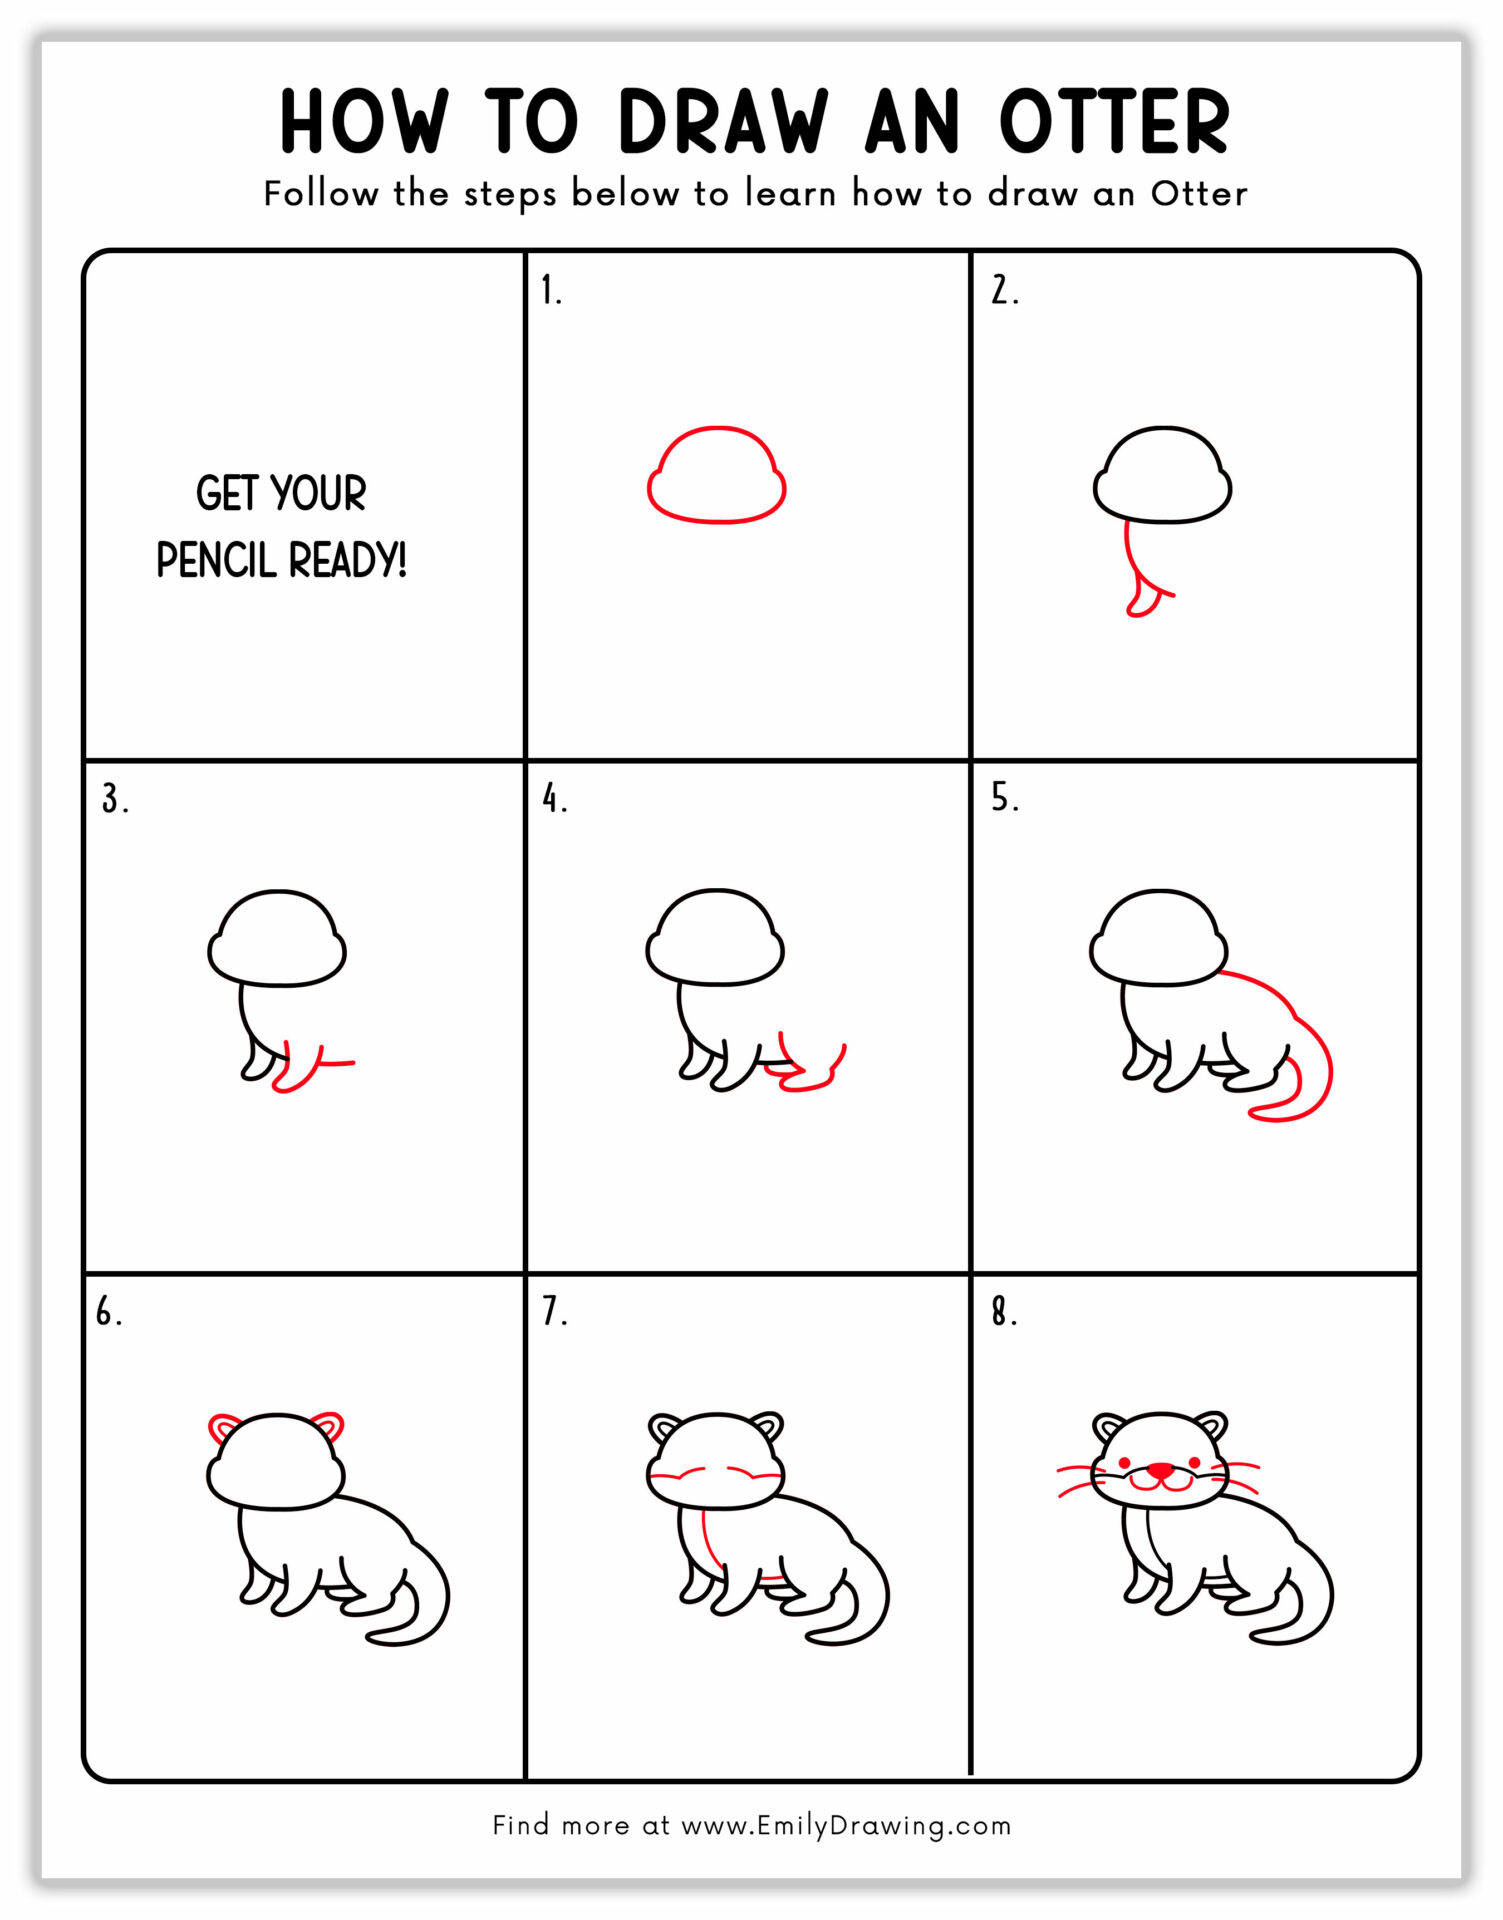
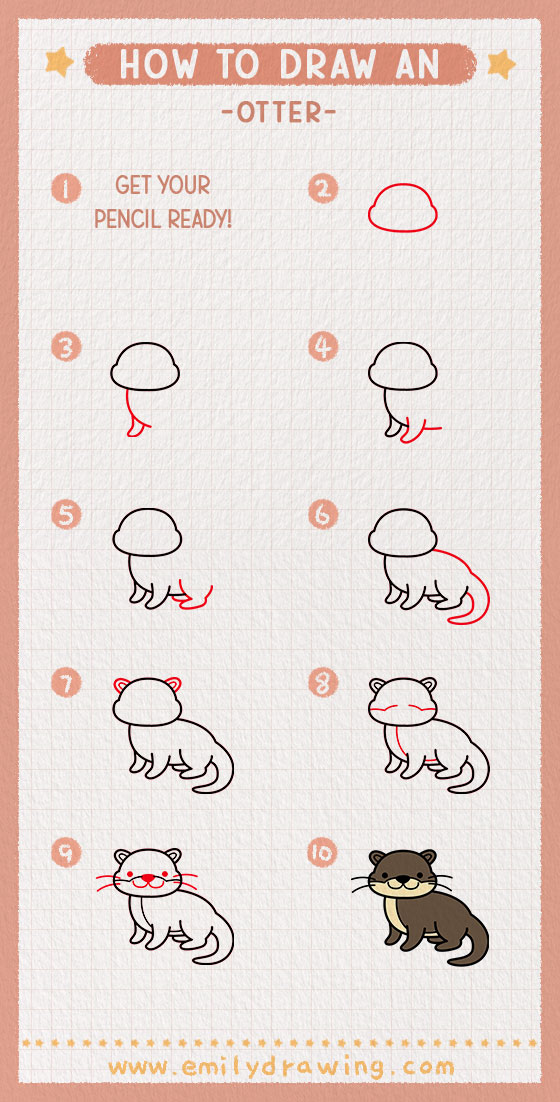
How to Draw an Otter — Let’s get started!
Step 1- Draw an Otter’s Head
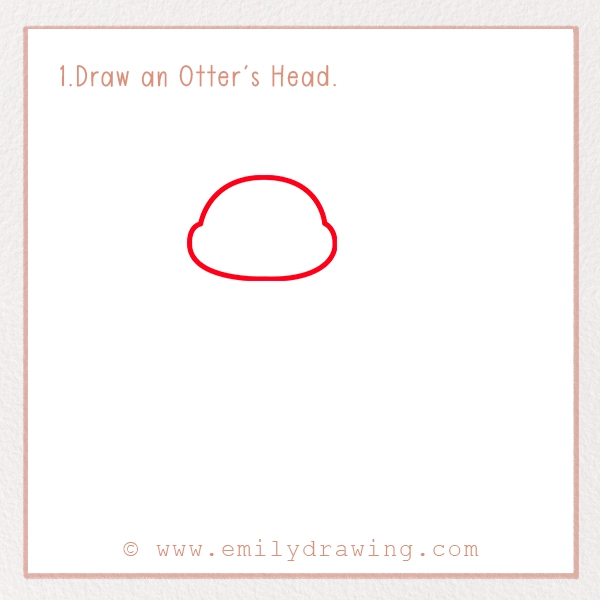
Like most of our previous art guides, we are starting this one, too, with the head. For sketching this, you have to put your pencil on the right center of the page.
Now, draw a slightly elongated oval shape. It should resemble an upside-down bowl.
Remember: The shape should not be perfectly symmetrical as it adds to the natural charm of the animal.
Step 2- Defining the Body and the Limb
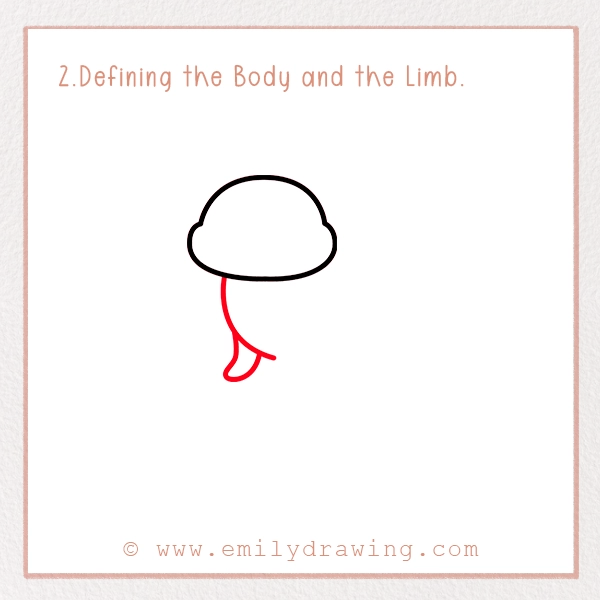
After the head, we have to outline the neck and the body. So, put your pencil on the bottom of the head oval.
Then, draw a gentle curve downwards that should widen gradually as it transitions from neck to body. You should give it a slightly elongated oval shape with a rounded bottom.
After this, add a limb now. Otter has two front legs and two bottom legs. So, we have to create the first front leg in this step.
For this, add two curved lines that are joining at one point as shown in the reference picture. You should position it below the neck.
Step 3- Creating Front Legs
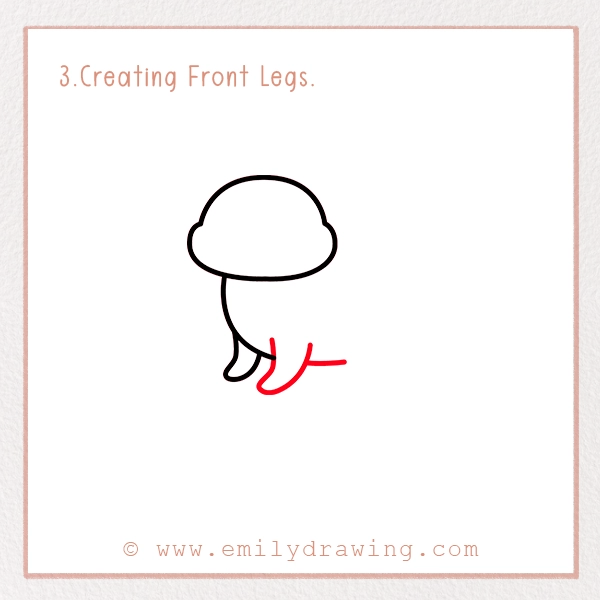
Now, create the second front leg. For this, you should elongate the line of the body a bit. Then, put your pencil into the belly of the otter.
Draw two curved lines joining at one point similar to what you have done in the previous step.
Step 4- Creating Back Legs
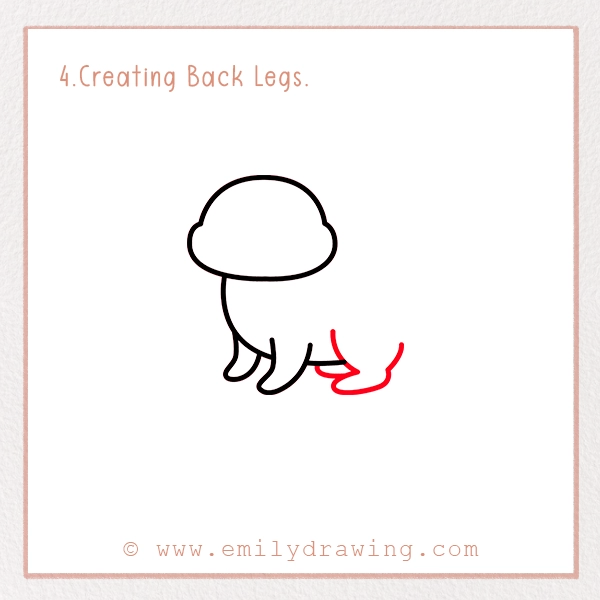
In this step, we are going to draw two rear legs. For this, you have to put your pencil on the place where the line for the body is finishing. There, draw two small tilted lines that have decent space in between them. End it with a paw.
With this paw, create another small paw to represent the second back leg. See the reference picture to get a clear idea.
Step 5- Drawing an Otter’s Tail
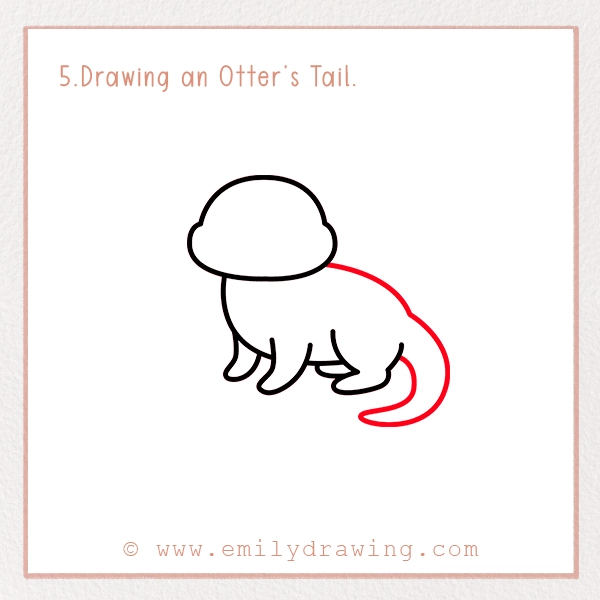
In this step, we are going to complete the Otter’s body. For this, you have to draw the tail here.
Draw a curved line on the other side of the head’s oval, completing the body. Make sure to stop your pencil just above the line of the rear legs.
Now, start your tail line by giving it a pronounced “S” shape. The end of the tail should be tapered neatly to give it a slender and pointed look. This will also give a natural flair to the Otter’s tail.
Make sure to join the tail to the rear leg.
Step 6- Draw Ears
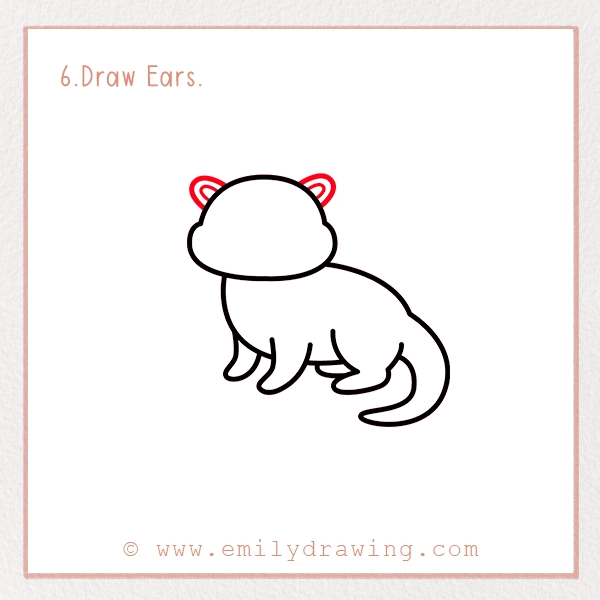
Draw two small half-circles on the top left and right side of the Otter’s head. These will become the ears of this mammal.
To make them cute, you should add small half circles inside them as we have drawn in our picture.
Step 7- Mouth and Body Detailing
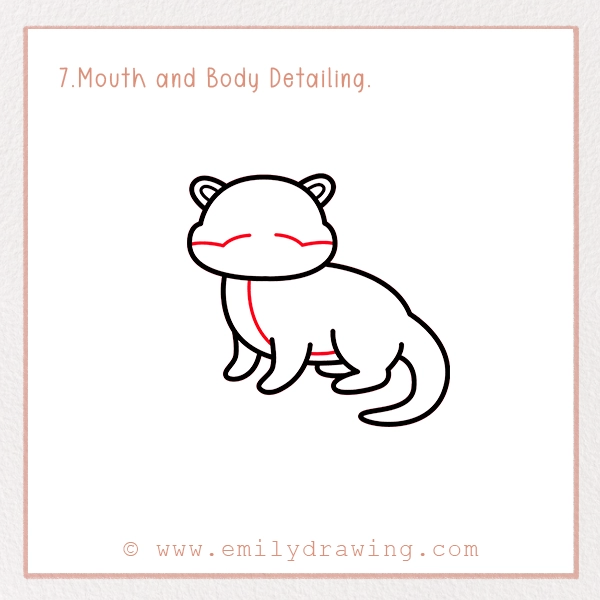
This step is going to focus on making our Otter cute. For this, we will draw the mouth and do some detailing on the body.
For the mouth, draw small straight lines, starting from the center point of both sides of the head. Curve them in the upward direction as shown in the reference picture. There should be a gap between these two lines.
Now, we need to focus on the body. There, draw a slightly sloped curved line along with the body’s outline. Make sure that there is a decent distance between this line and the outer one in the beginning. Gradually this distance should start getting less.
Step 8- Draw an Otter’s Face
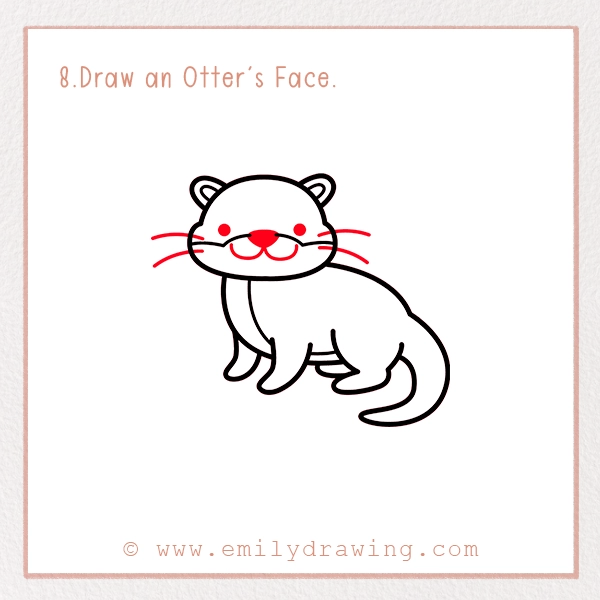
This is the last step for completing your Otter’s drawing. Here, we will focus on adding details to the face of your Otter.
For this, draw two small dark circles just above the point where your mouth lines are transitioning from straight to curved lines.
Now, we need to create the whiskers. For this, draw two small curved lines extending outside of the mouth on either side of it.
At last, it is time to complete the mouth. For this, draw a small triangular dark shape in between the area of the mouth lines we left in step 7.
Now, from the edge of the triangle, draw two small half circles, attaching at the mouth lines.
Step 9- Coloring
Otter’s drawing is incomplete without coloring and shading. They are mostly brown and gray so you should stick to these colors for realistic drawing.
Otherwise, you could go for different colors to give a cartoony look to it. Moreover, you could use black and white colors for shading the Otter.
You could use a dark brown color for shading the underside body and feet. This will create the fur of your Otter.
Pin it now, Draw later!
 />
/>Your Otter Drawing is Complete!
Congratulations! You have achieved a milestone in your drawing journey by creating the most playful mammal. Now, you could alter it a bit by drawing an otter in the water or it lying on its back on the surface.
Keep practicing different backgrounds and poses to become a professional artist—perhaps by exploring forest-themed tutorials like how to draw a deer. Moreover, check our other drawing guides to nurture your talent—such as this helpful one on how to draw a deer—and unlock other artistic milestones.
Get the FREE Printable Drawing Guide