Welcome to our exciting drawing tutorial! Today, we’re going to learn how to draw an ox in a fun and easy way! Oxen are strong and helpful animals that have worked alongside humans for thousands of years. They are known for their curved horns, big friendly eyes, and sturdy bodies.
By following this step-by-step guide, you’ll be able to draw your very own ox in no time! So, grab your pencil, get ready, and let’s start drawing!
Materials:
- a piece of paper
- a pencil for the guiding lines and sketching
- an eraser
- a black sharpie or a pen for the outlines
- markers or colored pencils for coloring
- our printable drawing guide (Join my Email List below to get this Tutorial)
Here are my RECOMMENDED Art Supplies!
- Crayola Coloring Set (140 Pieces – Mega Value!)
- 24 Colored Crayon Set
- A4 Printer Paper
- Crayola Coloring Pencils
- HP Home Printer with Instant Ink!
Time needed:
15 minutes.
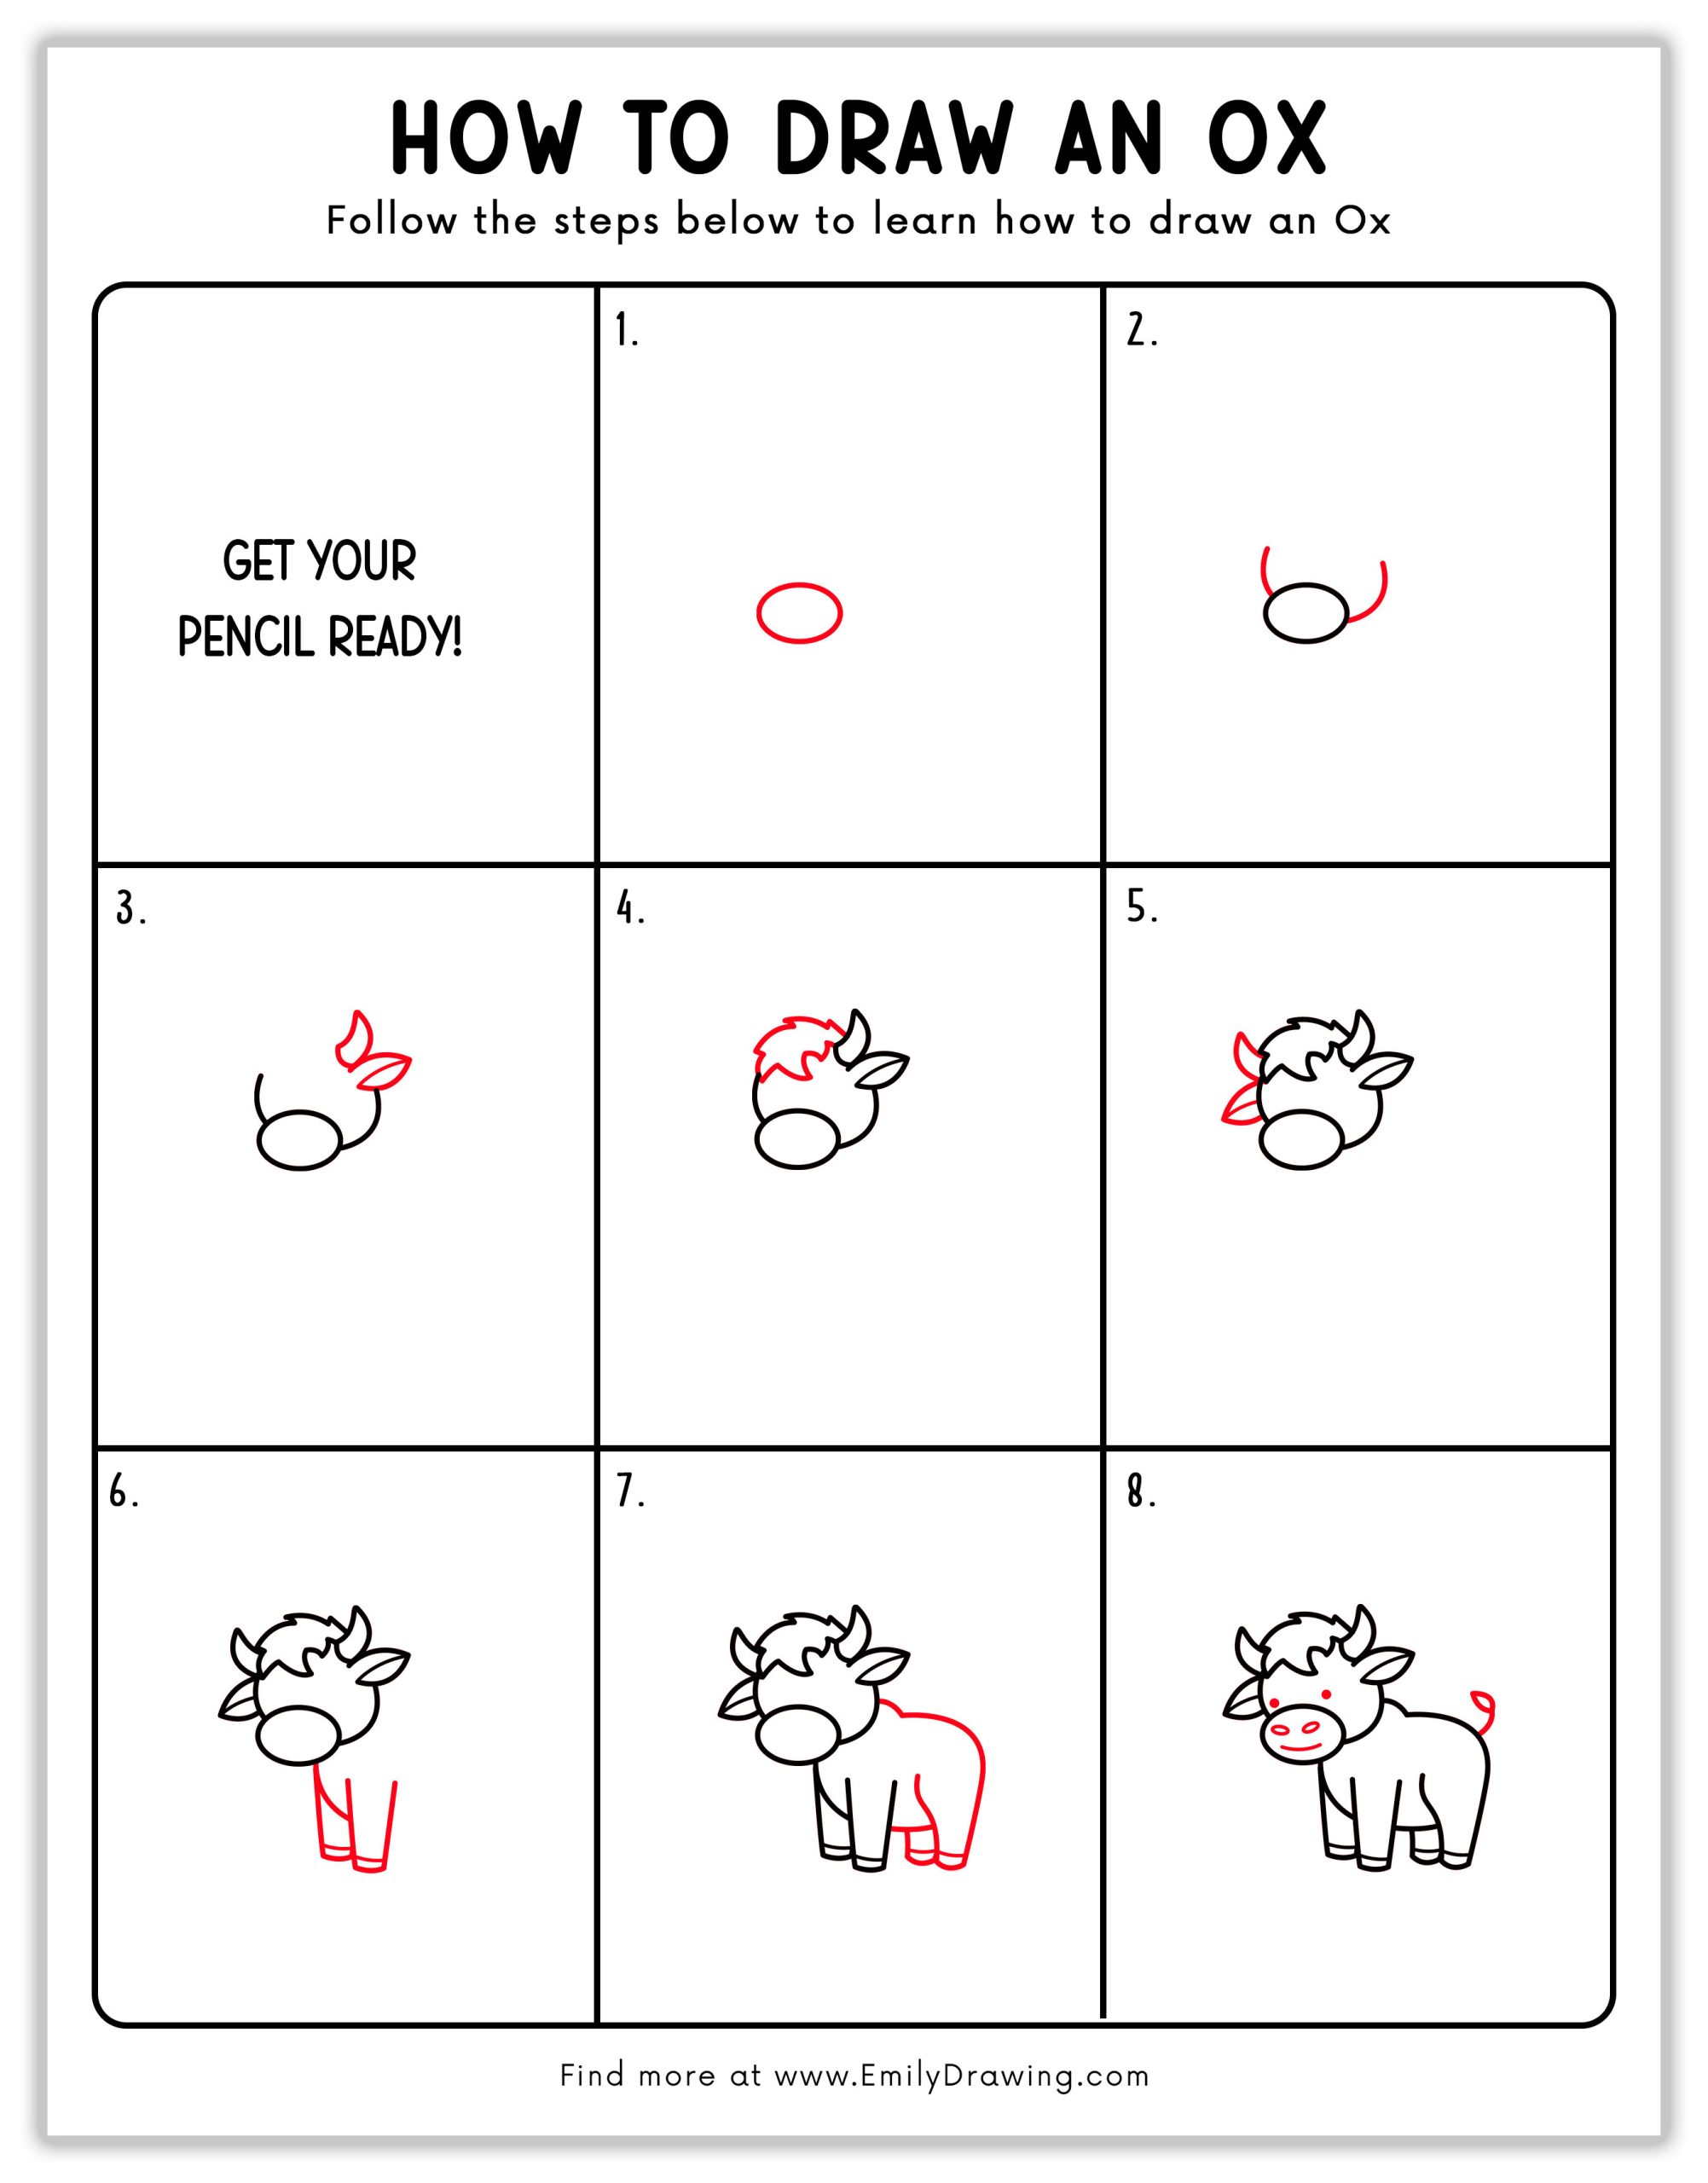
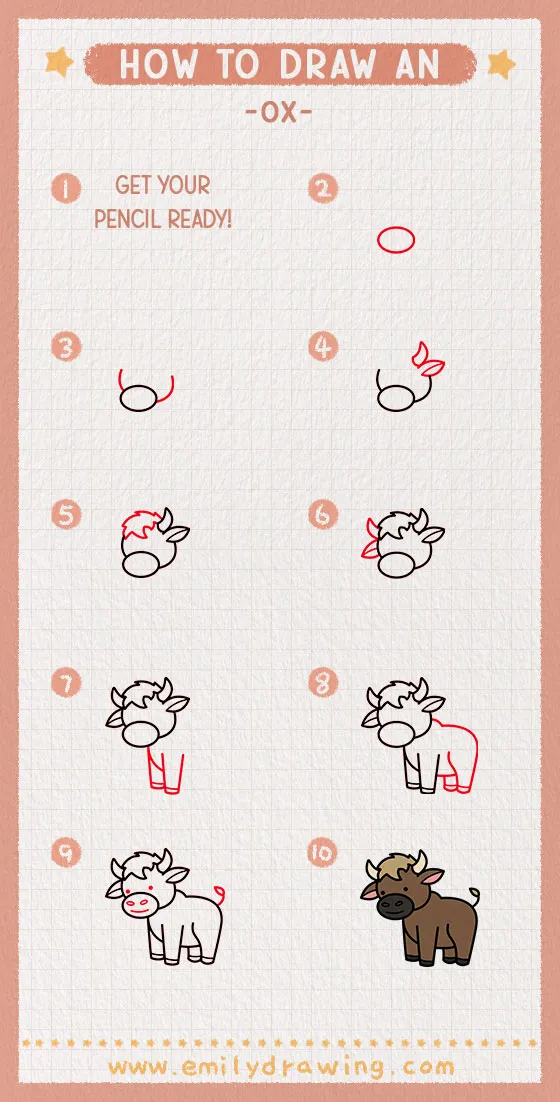
How to Draw an Ox — Let’s get started!
Step 1 – Draw the Head
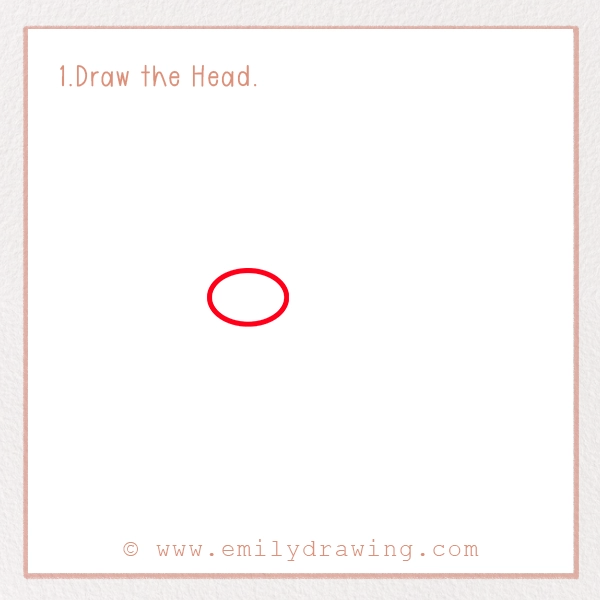
The first step in drawing an ox is to start with its head.
Begin by drawing a small oval in the center of your page. This oval will be the base of the ox’s face, so make sure to leave enough space around it for the rest of the body.
Try to keep the oval neat and not too large, as we will add more details later!
Step 2 – Add the Horns
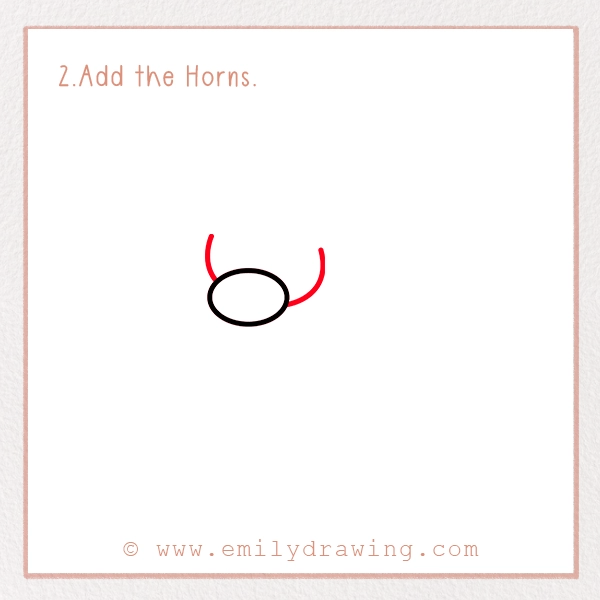
Oxen have strong, curved horns that make them look mighty and powerful! Now, let’s add those horns:
On each side of the oval, draw a curved line that bends upwards and outwards. These will be the horns.
Make sure the horns are symmetrical and smooth.
You can shape them to be slightly curved or pointy, depending on how fierce or friendly you want your ox to look!
Step 3 – Draw the Ears
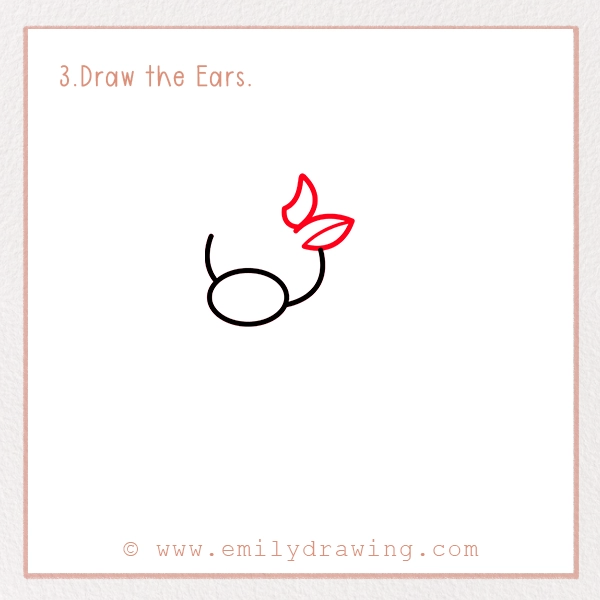
An ox’s ears help it hear sounds all around, whether it’s listening for danger or hearing commands from a farmer. Let’s add them next:
Draw two small, leaf-shaped ears on each side of the head, slightly below the horns.
Make sure they tilt slightly outward, giving the ox a friendly appearance.
You can add a little curve at the bottom of each ear for extra detail.
Step 4 – Add the Hair and Facial Features
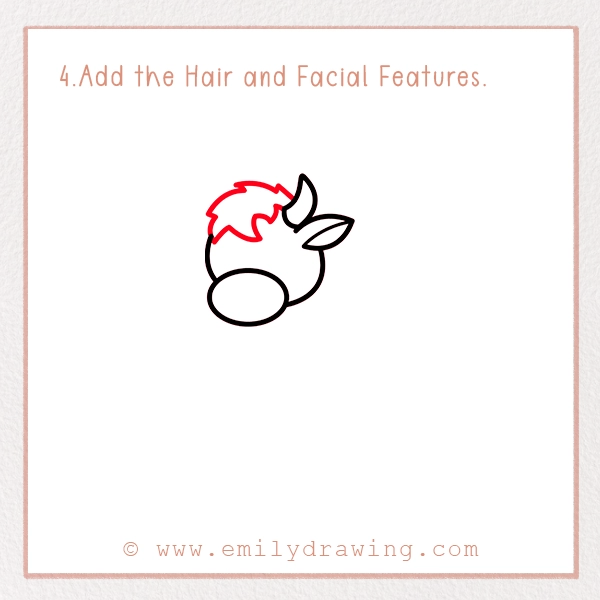
Now, let’s bring some life to our ox’s face by adding details!
On top of the head, between the horns, sketch some short, wavy lines to create a fluffy tuft of hair. This makes your ox look extra cute!
Draw two small circles for the eyes. If you want your ox to look more expressive, add tiny dots inside the eyes to make them shine.
Add two tiny dots inside the oval to create nostrils for the ox’s nose.
Finally, sketch a small curved line for a happy smile!
Step 5 – Draw the Second Ear and Second Horn
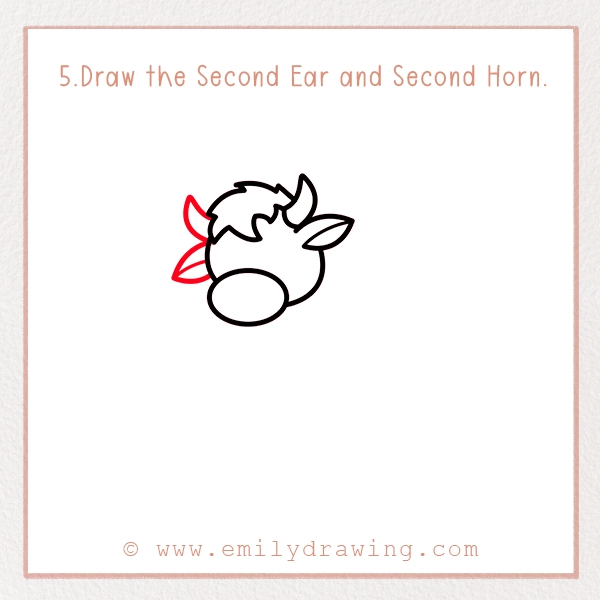
Now that we have one ear and one horn, let’s make our ox symmetrical!
On the right side of the head, draw another small, leaf-shaped ear just like the first one.
Make sure it’s positioned slightly below the right horn to match the first ear.
Now, add the second horn on the right side, curving it upwards and outwards to match the first horn.
Step 6 – Sketch the Front Legs
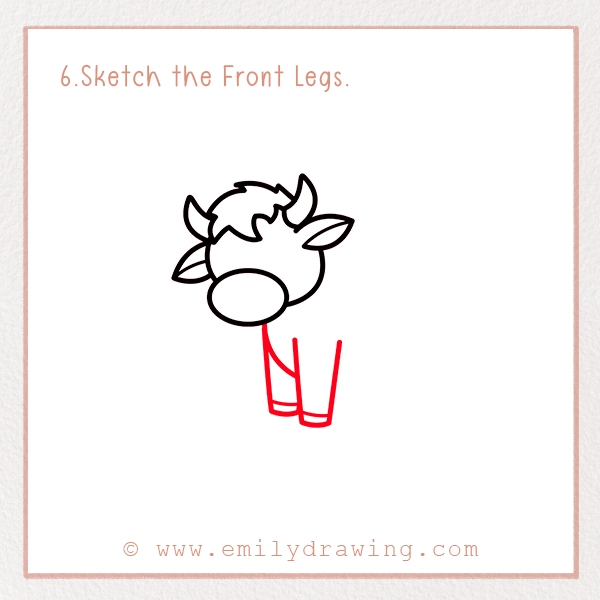
Oxen have powerful legs that help them walk through fields and carry heavy loads. Let’s draw them now!
From the bottom of the body, draw two straight vertical lines for the front legs.
Add small horizontal lines at the bottom to create the hooves.
Keep the legs slightly apart so that the ox looks balanced.
Step 7 – Draw the Back Legs
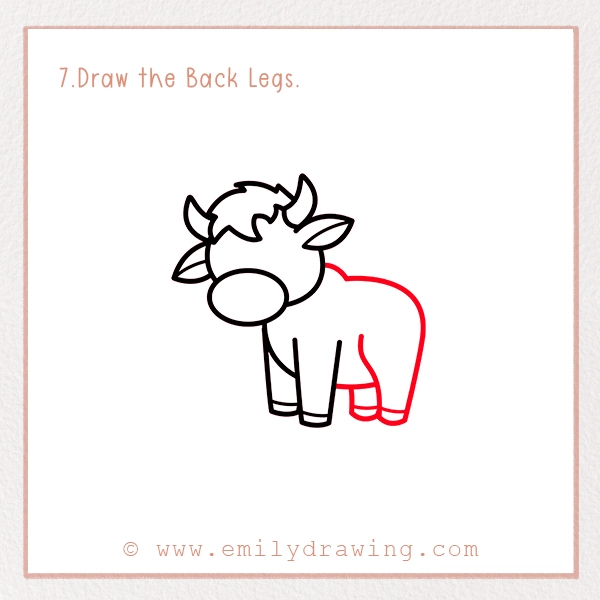
The back legs should be similar to the front ones but slightly curved.
Draw two more vertical lines at the back of the body to form the hind legs.
Add hooves at the bottom, just like you did for the front legs.
Make sure the back legs are positioned slightly behind the front legs for a natural look.
Step 8 – Add the Tail and Final Touches
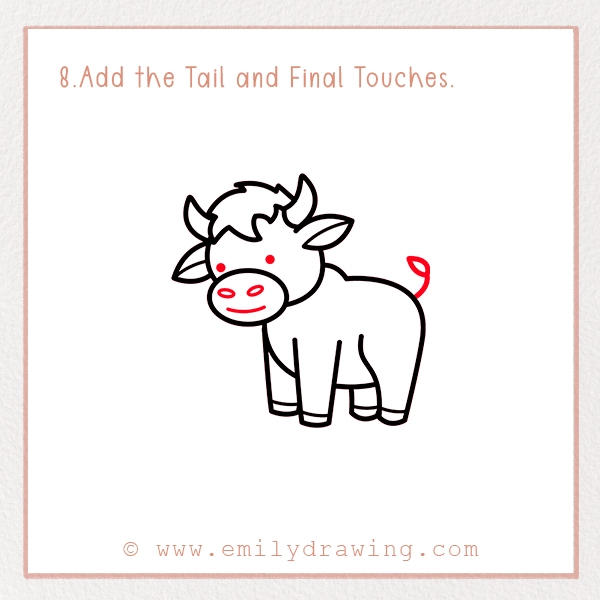
Oxen use their tails to swat away flies and keep themselves cool. Let’s add the final details to complete our drawing!
Draw a small, curved tail at the back of the body.
Add a little swirl at the tip of the tail to make it look more realistic.
Check all the details and refine any rough lines.
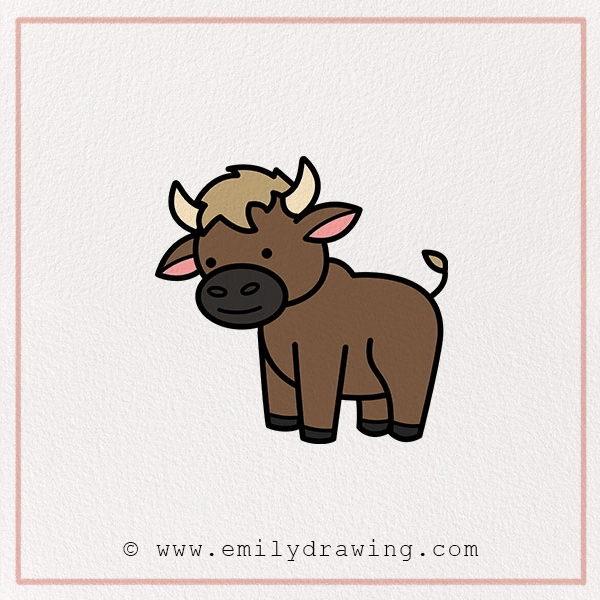
Step 9 – Color Your Drawing!
Now that we’ve completed our ox, it’s time to bring it to life with colors!
Oxen come in different colors, such as brown, black, grey, and even white.
Use a darker shade for the hooves and horns.
Add pink to the nose for a soft, cute touch.
Don’t forget to color the background! Maybe add some green grass or a bright blue sky to make your ox feel at home.
Pin it now, Draw later!
Fun Facts About Oxen
- Oxen have been human companions for over 10,000 years!
- They are incredibly strong and can pull twice their body weight.
- An ox is simply a trained cow or bull that helps with farm work.
- Oxen move in teams, often working in pairs to pull carts and plough fields.
- They are known for their patience and endurance, making them perfect for farm work!
- Despite their size and strength, oxen are known for their calm and gentle nature.
Tips and Tricks for Better Drawing
Want to make your drawing even better? Here are some handy tips:
- Start Light: Use light pencil strokes when sketching the outline. This makes it easier to erase mistakes.
- Start with simple shapes before adding details. Drawing the head as an oval and the body as a rounded shape will help you get proportions right.
- Make the ox unique! Try adding a bell around its neck or giving it a happy expression.
- Practice makes perfect: Don’t worry if your drawing isn’t perfect the first time. Keep practicing, and you’ll get better every time!
- Add Your Own Style: Feel free to add your own creative touches, like patterns or accessories, to make your ox unique.
Congratulations! You’ve learned how to draw an ox step by step. By following this easy guide, you now have a fun and friendly ox drawing to show off. Keep practicing and try drawing different animals too!
We’d love to see your amazing artwork! Share your drawing online with #EmilyDrawing and inspire others to start their own drawing adventure.
Get the FREE Printable Drawing Guide