Hello, and welcome to our tutorial on how to draw a pinecone! In just ten steps, you’ll create this unique shaped part of a pine tree (which we also have a tutorial on!)
Have you ever seen a pine cone in person? They have a truly unique appearance. Like many things in nature, there is a beautiful repeating pattern that forms a pine cone.
Pine cones are like nature’s tiny storage units because they hold many little seeds for pine trees. Then, when the cones open up, they release the seeds to form new trees. Another cool thing is that pine cone scales can open and close depending on the weather. When it’s dry and warm, the scales open to release seeds. When it’s cold, they close up to protect the seeds.
Lastly, did you know that each pine cone can tell you about the type of pine tree it came from? This is similar to how leaves can tell you what kind of tree it belongs to.
Anyways, let’s get started on this tutorial. Find some drawing materials like markers or crayons, and let’s get started! Keep reading for Step 1.
Materials:
- a piece of paper
- a pencil for the guiding lines and sketching
- an eraser
- a black sharpie or a pen for the outlines
- markers or colored pencils for coloring
- our printable drawing guide (Join my Email List below to get this Tutorial)
Here are my RECOMMENDED Art Supplies!
- Crayola Coloring Set (140 Pieces – Mega Value!)
- 24 Colored Crayon Set
- A4 Printer Paper
- Crayola Coloring Pencils
- HP Home Printer with Instant Ink!
Time needed:
12 minutes.
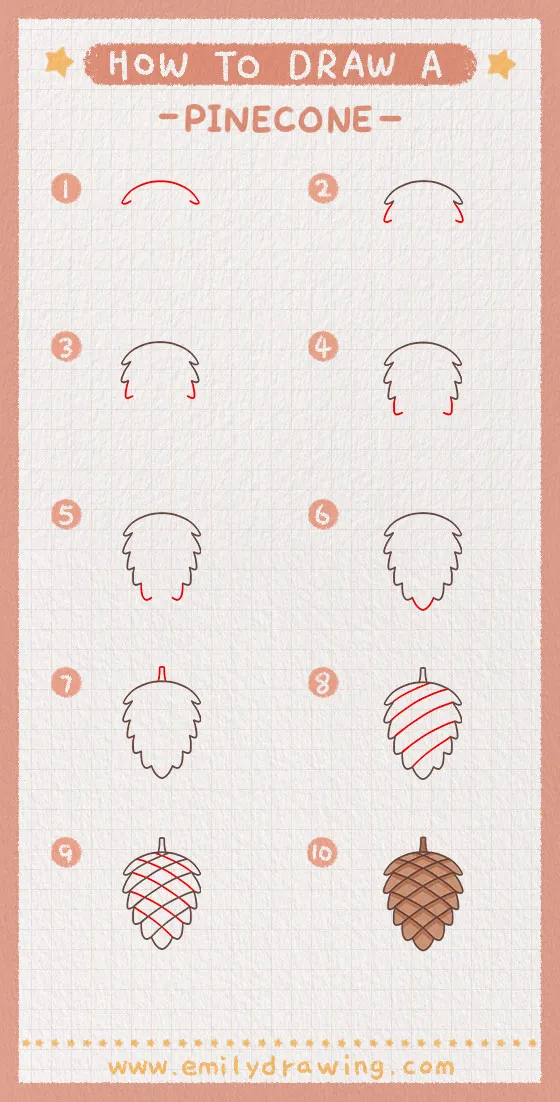
How to Draw a Pine cone — Let’s get started!
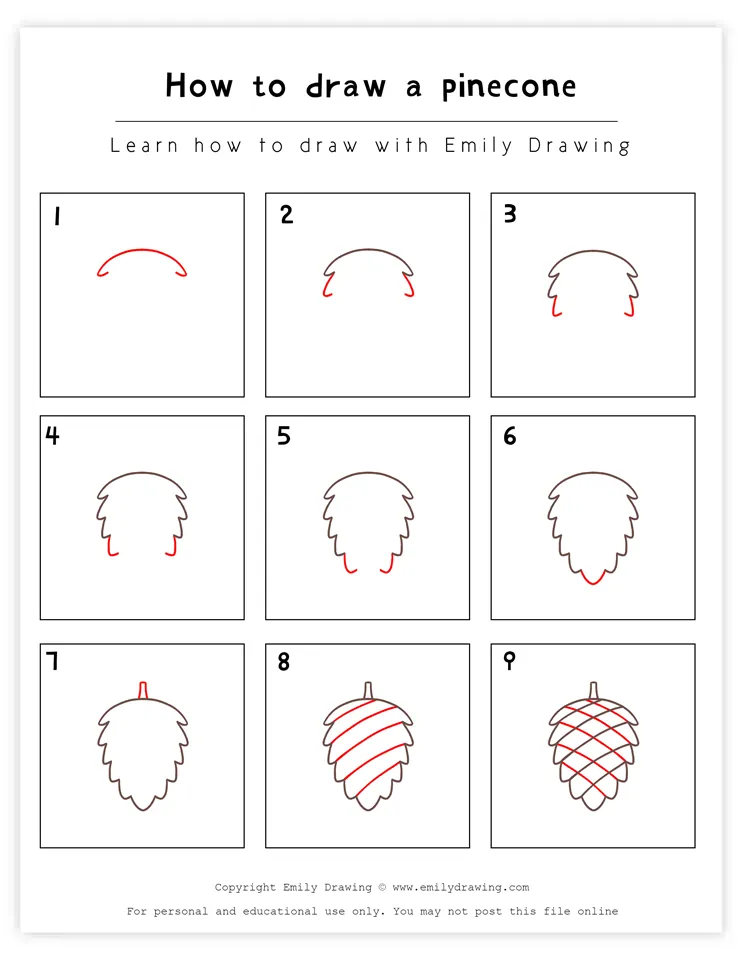
Step 1 – Draw the top of the pine cone.
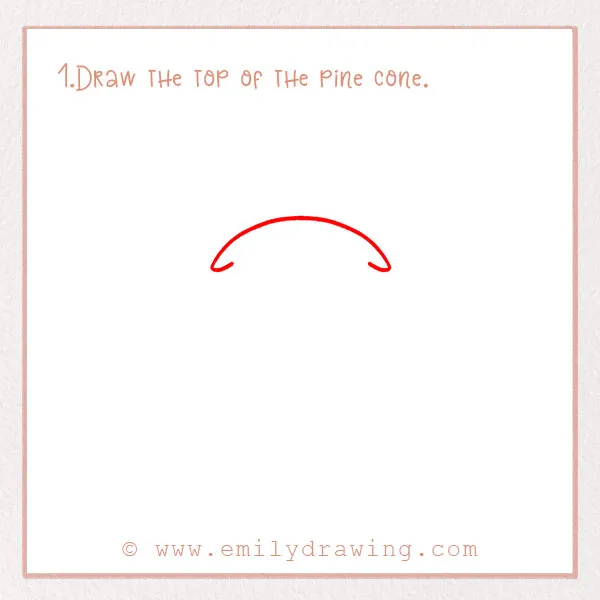
Pine cones can vary in both size and shape. Some are small and more round, while others are skinny. They can also have different textures—some are smooth, and some are spiky!
Ours will be fairly round. Draw a large curve near the top of the page, like of like a rainbow shape. Draw two hooks at either end—these form the spiky edges.
Step 2 – Draw the sides of the pine cone.
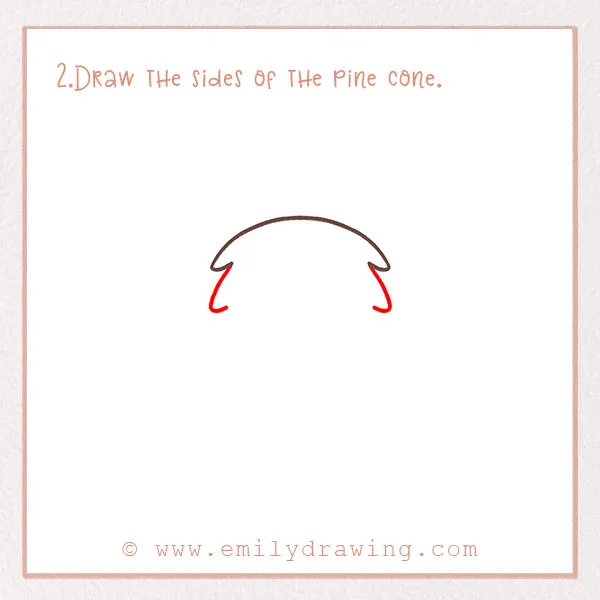
For the next few steps, we’re just going to be adding to the perimeter with similar shapes. So, for Step 2, simply draw another sharper curve on each side. They should be facing downward. Check out the photo.
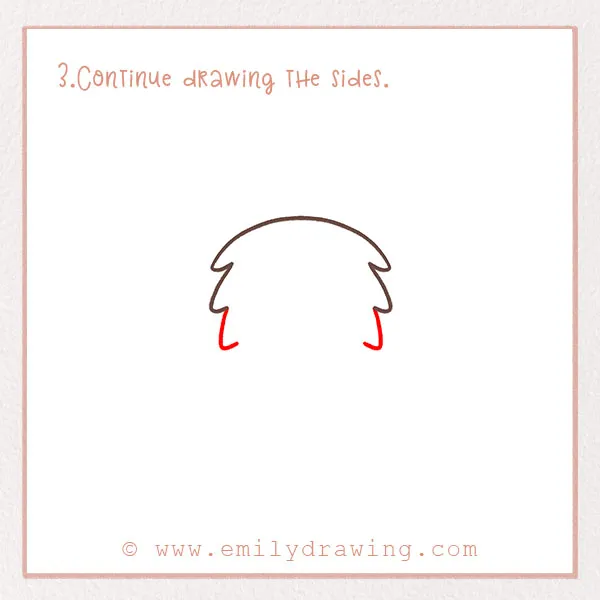
Step 3 – Continue drawing the sides.
Did you know that many animals, like squirrels and birds, love to snack on the seeds inside pine cones. Some animals even use pine cones to help build their homes! Next time you’re around a pine tree, look around for how the cones get used.
For this step, simply draw two more curves to keep forming the jagged edge of the cone. Great job!
Step 4 – Continue drawing the sides.
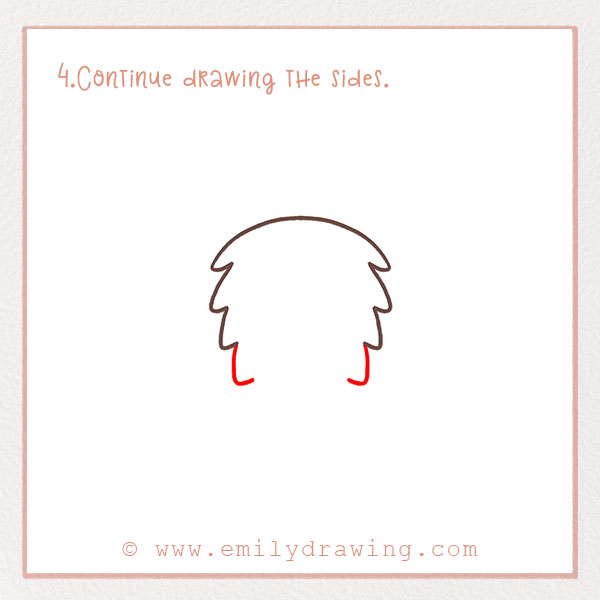
Once again, draw the same jagged hook on either side. They should be getting closer together because the cone is narrowing into a point.
Step 5 – Keep drawing the sides.
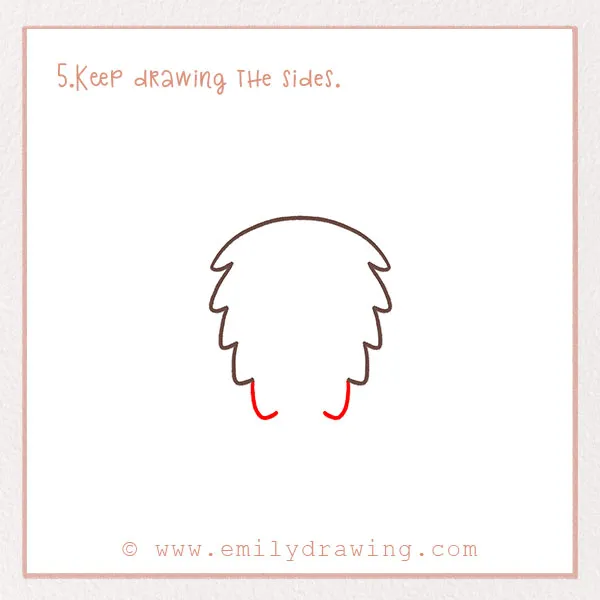
Repeat Step 4. Again, the shape should be gradually narrowing.
Step 6 – Complete the shape of the cone!
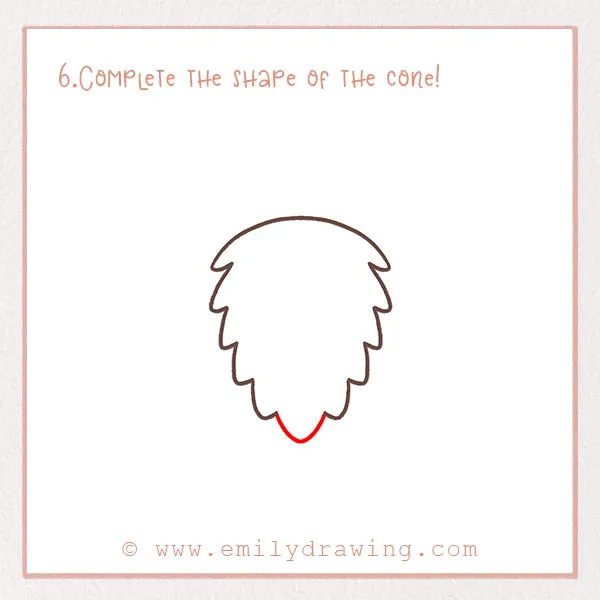
Finally, merge the sides into a rounded point at the bottom.
Here’s another fact for you: in the past, people used pine cones to make perfumes because of their natural oils and scents!
Step 7 – Add the stem.
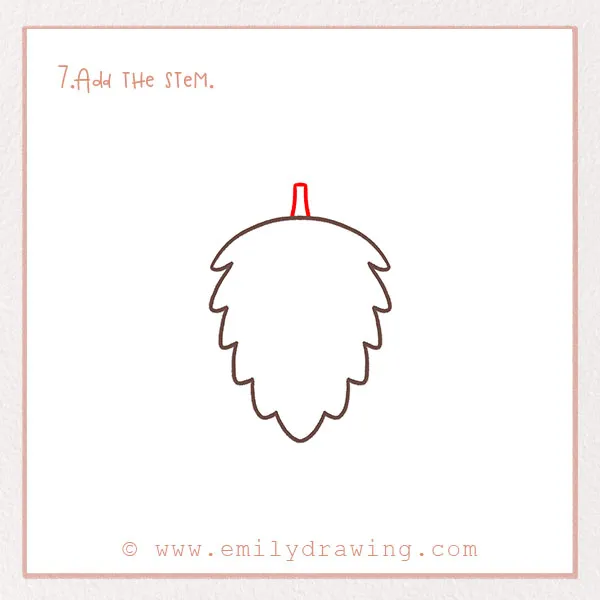
For this step, we are going to finish the outline by adding a stem! Draw a small rectangle at the top of the cone.
Now we have completed the perimeter and can move onto the inside of the cone.
Step 8 – Add more detail to the pattern.
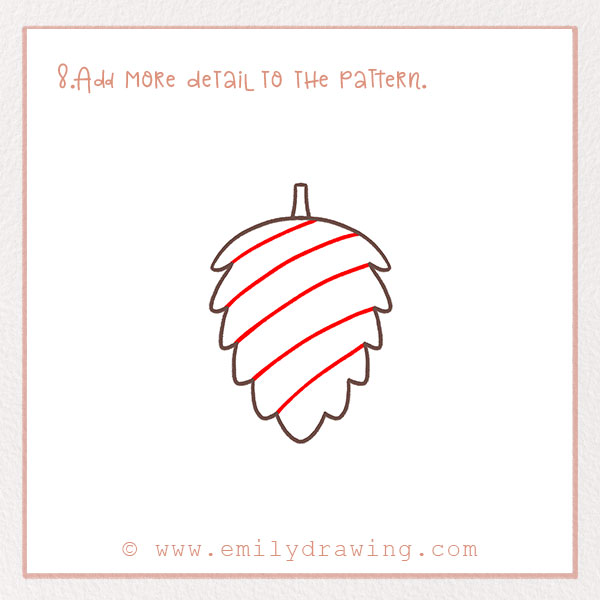
Pine cones are great for making crafts. You can paint them, turn them into ornaments, or even make bird feeders by spreading peanut butter on them and rolling them in bird seed. Part of why they make good crafts is because of their interesting textures.
Let’s draw that interesting texture now. Start by adding five slanted, slightly curved lines through the interior of the cone.
Step 9 – Finish the design.
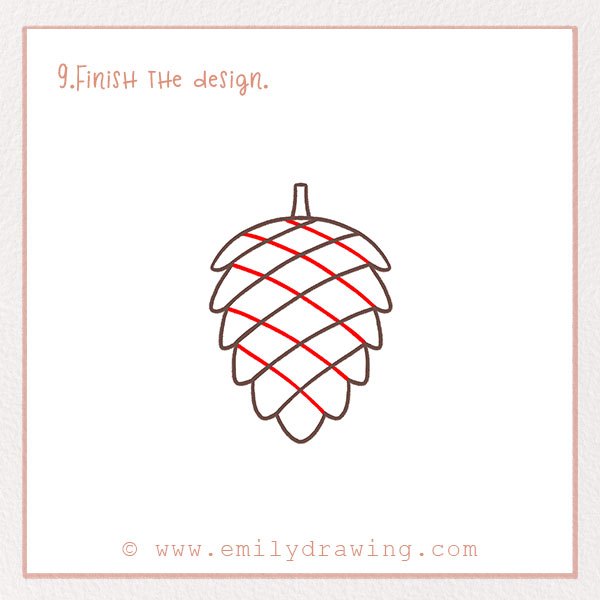
Repeat Step 8, but this time, make the lines go the opposite direction. That completes the pine cone!
Step 10 – Color!
Finally, color in your drawing! Of course, pine cones are normally a soft brown.
However, add whatever colors you like to your pine cone, as well as the space around it. You could even add some background to your drawing. Don’t forget to sign your artwork!
Pin it now, Draw later!
We are all done. Fantastic job! We hope you love your drawing and learned some fun facts about pine cones, too! If you live around pine trees, take a second to look more closely at its beautiful cones. If you liked this tutorial, we have a ton more just like it on our site!
Get the FREE Printable Drawing Guide